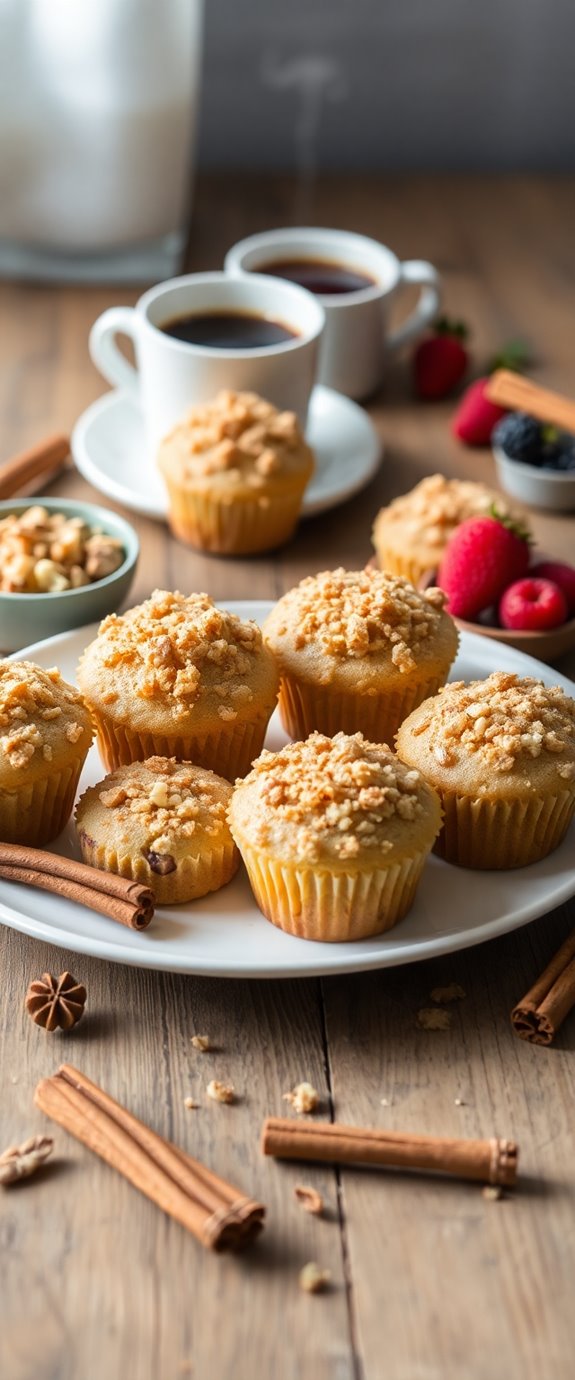
Did you know that the marbled effect in cupcakes not only looks stunning but also offers a delightful combination of flavors? By blending vanilla and chocolate batters, you can create a treat that's visually appealing and deliciously satisfying. If you're curious about the steps to achieve this perfect balance, along with tips for customization and storage, keep exploring to discover how to impress your family and friends with these homemade marble cupcakes.
Recipe Tips and Tricks
- Combine a simple batter using flour, sugar, butter, eggs, milk, vanilla, baking powder, salt, and cocoa for a delicious marble effect.
- Alternate spooning two batters (vanilla and chocolate) into cupcake liners, then gently swirl them for a marbled appearance.
- Bake at 350°F (175°C) until a toothpick comes out clean, ensuring not to overbake for optimal moisture.
- Cool cupcakes completely before frosting with options like vanilla buttercream or chocolate ganache for added flavor.
- Store in an airtight container to keep them fresh, and serve with milk or coffee for a delightful treat.
How To Make It – Recipe

Homemade marble cupcakes are a delightful combination of rich chocolate and fluffy vanilla flavors, making them perfect for any occasion. Whether you're celebrating a birthday, hosting a tea party, or simply indulging your sweet tooth, these cupcakes are sure to impress. The beautiful marbled effect not only adds to the visual appeal but also provides a delicious contrast in flavors with each bite.
To achieve the perfect texture and flavor, it's crucial to use high-quality ingredients and follow the steps carefully. The process may seem a bit intricate, but once you get the hang of it, you'll find that making marble cupcakes at home is a straightforward and rewarding experience. So, gather your ingredients and let's get started on creating these scrumptious treats!
Ingredients:
- 1 cup all-purpose flour
- 1 cup granulated sugar
- 1/2 cup unsalted butter, softened
- 2 large eggs
- 1/2 cup milk
- 1 teaspoon vanilla extract
- 1 teaspoon baking powder
- 1/4 teaspoon salt
- 1/4 cup unsweetened cocoa powder
To make the marble cupcakes, preheat your oven to 350°F (175°C) and line a cupcake pan with paper liners. In a large bowl, cream together the softened butter and granulated sugar until light and fluffy. Add the eggs, one at a time, mixing well after each addition, then stir in the vanilla extract.
In a separate bowl, whisk together the flour, baking powder, and salt. Gradually add the dry ingredients to the wet mixture, alternating with the milk, until just combined. Divide the batter into two bowls; stir the cocoa powder into one bowl until well incorporated.
To create the marbled effect, spoon alternating dollops of each batter into the cupcake liners, then gently swirl with a toothpick or knife. Bake for 18-20 minutes, or until a toothpick inserted in the center comes out clean.
For the best results, make sure to accurately measure your ingredients and avoid overmixing the batter, as this can lead to dense cupcakes. Allow the cupcakes to cool completely before frosting to prevent melting. Feel free to experiment with different frosting flavors or toppings to complement the chocolate-vanilla combination. Remember, the key to deliciously easy cupcakes is a combination of technique and quality ingredients. Enjoy your delicious homemade marble cupcakes!
Substitution Suggestions
If you find yourself missing a key ingredient for your marble cupcakes, don't fret—there are plenty of substitutions that can work just as well.
For sugar alternatives, consider using honey, maple syrup, or coconut sugar to maintain sweetness and moisture.
If you're looking for dairy substitutes, almond milk, soy milk, or oat milk can replace regular milk without sacrificing flavor.
For butter, try coconut oil or vegan butter to keep the cupcakes rich and tender.
These swaps not only cater to dietary restrictions but can add unique flavors to your delightful marble cupcakes, making them even more enjoyable! Additionally, using gluten-free flours can further enhance the texture and taste of your cupcakes while keeping them suitable for those with gluten sensitivities.
Decorating Ideas
While the rich, swirled patterns of your marble cupcakes are visually appealing on their own, adding a creative touch with decorations can elevate them to a whole new level.
Start with frosting options like creamy vanilla, chocolate ganache, or even a vibrant berry buttercream. Use a piping bag for an elegant swirl or a simple spread for a rustic look.
Next, explore topping varieties such as colorful sprinkles, crushed nuts, or fresh fruit to create a delightful contrast. Edible glitter or drizzles of caramel can add a touch of glamour, making your cupcakes not just delicious, but truly eye-catching! Additionally, consider using cream cheese frosting for a tangy and rich flavor that perfectly complements the sweetness of the marble cake.
Serving Suggestions
After you've put the finishing touches on your beautifully decorated marble cupcakes, it's time to think about how to present them.
Arrange your cupcakes on a tiered stand for an eye-catching display at festive occasions like birthdays or holidays. Pair them with ice-cold milk or a rich coffee to enhance their flavors. You might also consider serving them alongside fresh fruit or a scoop of vanilla ice cream for a delightful contrast. For added flair, sprinkle edible glitter or chocolate shavings on top to elevate their appeal.
For a delicious twist, try incorporating blueberry cupcake recipes into your marble cupcakes for a burst of flavor. Your guests will love the thoughtful presentation and delicious pairing!
Make-Ahead and Storage
To make your marble cupcakes ahead of time, you can bake and store them without sacrificing flavor or freshness.
One of the best make-ahead tips is to bake your cupcakes a day or two in advance. Allow them to cool completely before wrapping them in plastic wrap.
For ideal storage methods, place the wrapped cupcakes in an airtight container at room temperature. If you need to store them longer, consider freezing them—just remember to thaw them at room temperature before serving. Deliciously moist cupcakes will be ready whenever you need a sweet treat!
This way, your delicious marble cupcakes will be ready whenever you need a sweet treat!
How to Store Leftovers
Once you've savored your delicious marble cupcakes, it's important to know how to store any leftovers properly to maintain their taste and texture.
For ideal leftover storage, place the cupcakes in an airtight container to lock in moisture and flavor. If you've frosted them, separate layers with parchment paper to prevent sticking.
Keep the container at room temperature for up to three days, or refrigerate for longer freshness. Just remember, refrigeration can slightly alter the texture, so enjoy them soon! Additionally, for the best results, ensure that your cupcakes are completely cool before storing them to prevent condensation, which can lead to moisture-related issues.
Nutrition Facts(per serving)
Now that you know how to store your leftover marble cupcakes, let's take a closer look at their nutrition facts per serving.
Each cupcake offers a delightful caloric breakdown of approximately 200 calories, making it a sweet treat without overwhelming your diet.
In our ingredient analysis, you'll find a mix of flour, sugar, eggs, and cocoa, providing essential carbohydrates and a touch of protein. The use of butter adds richness, while milk enhances moisture and flavor. Additionally, these cupcakes can be made using a deliciously moist cupcake recipe, ensuring a perfect texture every time.
Keep in mind the balance of indulgence and nourishment, ensuring you enjoy these treats while being mindful of your overall dietary choices.
Final Thoughts
As you savor each bite of your homemade marble cupcakes, it's clear that these delightful treats are more than just a sweet indulgence; they embody the perfect balance of flavor and texture.
To elevate your baking game, keep these baking tips in mind: use room-temperature ingredients for a smoother batter and don't overmix. Additionally, incorporating buttercream frosting can take your cupcakes to the next level of sweetness and creaminess.
Experiment with flavor variations—try adding almond extract or incorporating fresh fruit.
Whether you stick to the classic chocolate and vanilla blend or explore new combinations, these cupcakes are sure to impress.
Enjoy the process, and don't hesitate to share your delicious creations with family and friends!
Recipe FAQs
Can I Use Gluten-Free Flour for This Recipe?
Absolutely, you can use gluten-free flour! Just remember to make some baking adjustments. Experiment with gluten-free substitutes like almond or coconut flour, ensuring you find the right balance for a delicious, moist texture in your treats.
How Do I Prevent Cupcakes From Sticking to the Liners?
Isn't it delightful when cupcakes stick to liners? To prevent this, use baking spray before filling, and choose parchment liners for easy release. Your treats deserve to shine without clingy companions ruining the moment!
What Is the Best Way to Test if Cupcakes Are Done?
To test if your cupcakes are done, use the toothpick test. Insert a toothpick into the center; if it comes out clean or with a few crumbs, they're ready. Keep an eye on the baking time!
Can I Freeze Marble Cupcakes for Later Use?
Yes, you can freeze marble cupcakes! For best results, wrap them individually in plastic wrap, then place in a freezer-safe container. This storage method preserves freshness. Use these freezing tips for delicious treats later on!
What Flavor Variations Can I Try With This Recipe?
You can experiment with flavors by adding a rich chocolate swirl or infusing your batter with fragrant vanilla bean. These variations elevate your cupcakes, creating delightful contrasts that will impress your family and friends. Enjoy the creativity!