When it comes to feeding a crowd, a brownie recipe for 30 people is a game changer. Picture a rich, fudgy treat that melts in your mouth, perfect for gatherings and celebrations. With just a few simple ingredients, you can whip up a batch that everyone will love. But before you start baking, let's explore some creative twists and essential tips that will elevate your brownies to the next level.
Recipe Tips and Tricks
- Use an 18×13-inch baking pan to ensure the brownies yield enough servings for 30 people.
- Combine 2 cups of melted butter with 4 cups of sugar and 8 eggs for a rich base.
- Bake the brownies at 350°F (175°C) for 30-35 minutes, checking for doneness with a toothpick.
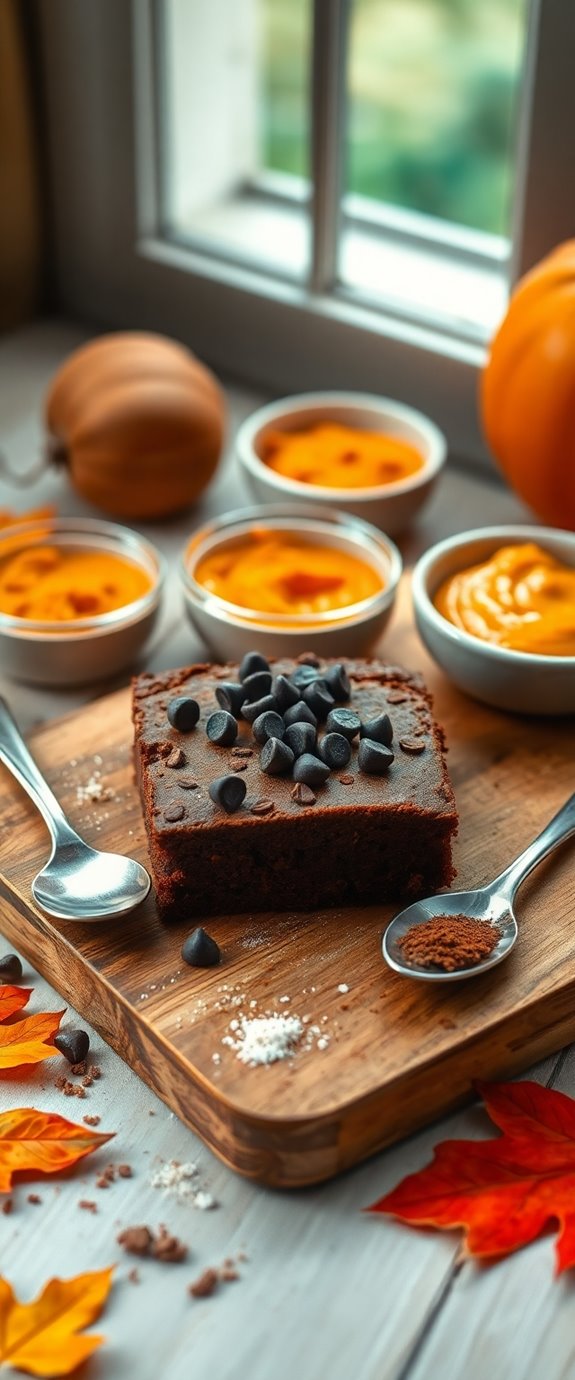
- Consider adding chocolate chips or nuts for extra flavor and texture in each batch.
- Store leftovers in an airtight container for up to three days or freeze for longer preservation.
How To Make It – Recipe
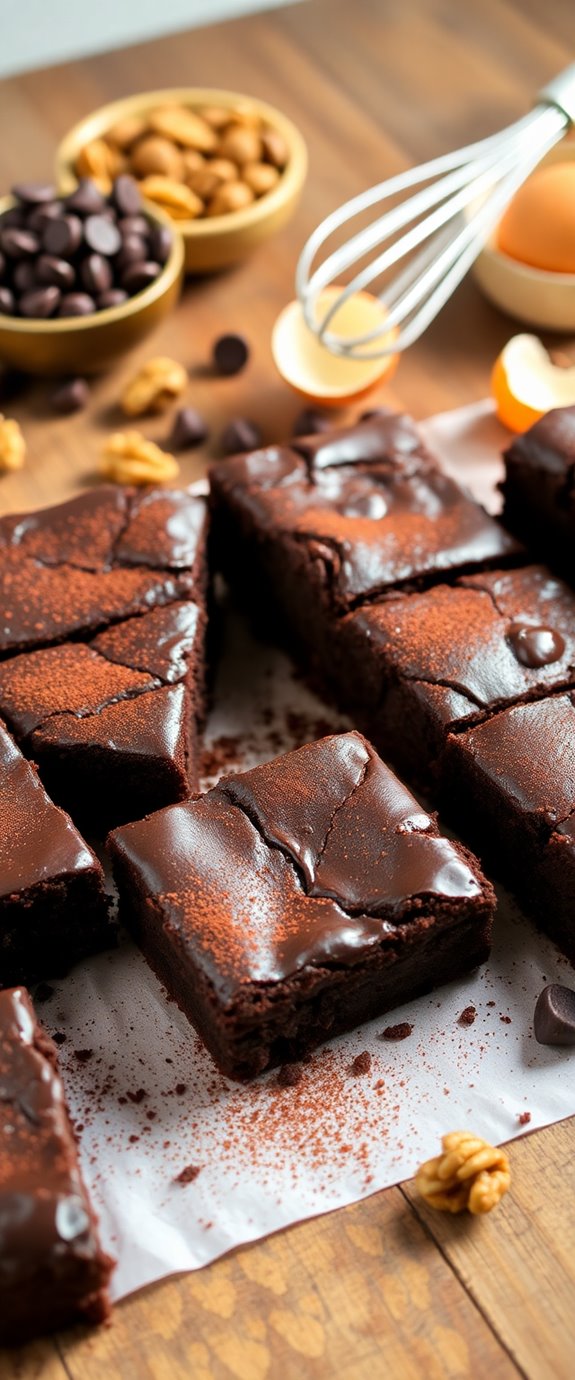
To make a delicious batch of brownies that serves 30 people, you'll want to guarantee you have the right ingredients and follow a straightforward method. Brownies are a beloved dessert known for their rich, fudgy texture and chocolatey flavor, making them perfect for any large gathering or celebration. This recipe is designed to yield a large tray of brownies that will satisfy everyone's sweet tooth.
Before you begin, it's important to gather all your ingredients and have your baking tools ready. A large mixing bowl, a whisk or electric mixer, a baking pan (preferably 18×13 inches), and a spatula will make the process smoother. Once you have everything in place, you'll be ready to whip up this crowd-pleasing dessert that will have everyone coming back for seconds.
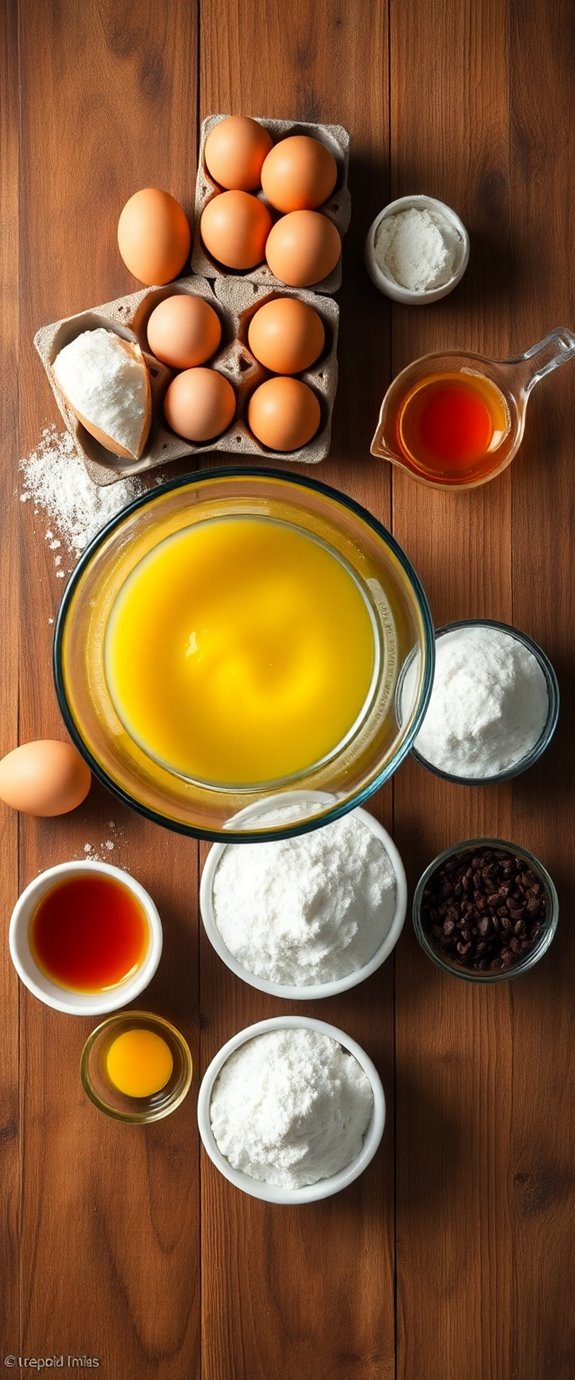
Ingredients:
- 2 cups unsalted butter, melted
- 4 cups granulated sugar
- 8 large eggs
- 2 teaspoons vanilla extract
- 2 cups all-purpose flour
- 1 cup unsweetened cocoa powder
- 1 teaspoon baking powder
- 1 teaspoon salt
- 2 cups semi-sweet chocolate chips (optional)
To prepare the brownies, preheat your oven to 350°F (175°C) and grease your baking pan or line it with parchment paper for easy removal. In a large mixing bowl, combine the melted butter and granulated sugar until well mixed.
Add the eggs, one at a time, mixing thoroughly after each addition. Stir in the vanilla extract. In a separate bowl, whisk together the flour, cocoa powder, baking powder, and salt. Gradually add the dry ingredients to the wet mixture, mixing until just combined.
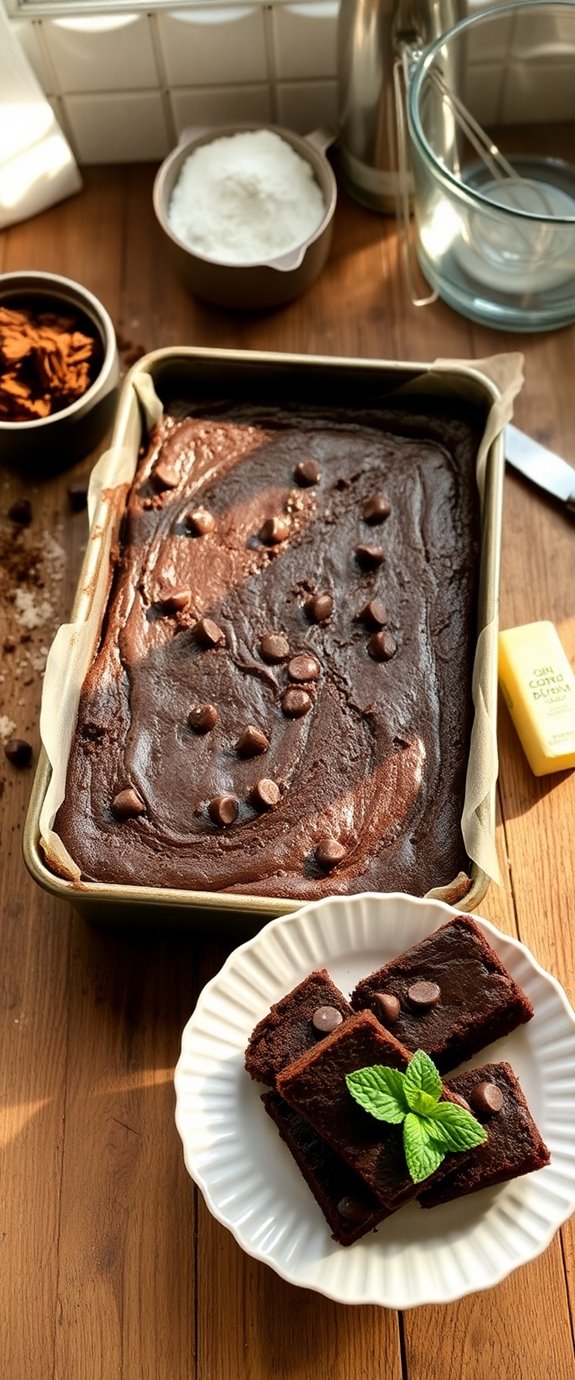
If you're using chocolate chips, fold them into the batter. Pour the batter into the prepared baking pan and spread it evenly. Bake for 30-35 minutes or until a toothpick inserted in the center comes out with a few moist crumbs. Allow the brownies to cool in the pan before cutting them into squares.
Extra Tips:
For an even richer flavor, consider using high-quality cocoa powder and chocolate chips. You can also experiment with adding nuts, such as walnuts or pecans, for added texture. Baking brownies in a large tray is a great way to serve a crowd while ensuring everyone gets a taste of this delightful treat.
If you prefer a cakier brownie, you can slightly increase the baking time. Make sure to allow the brownies to cool completely before cutting them to guarantee clean, neat squares. Enjoy your homemade brownies!
Substitution Suggestions
If you find yourself missing an ingredient or looking to accommodate dietary preferences, don't worry—there are plenty of substitution options for your brownie recipe.
For gluten alternatives, try using almond flour or coconut flour; they'll add a nutty flavor and maintain that rich texture.
If you're avoiding dairy, consider using coconut oil or applesauce as a butter substitute, and almond or oat milk in place of regular milk.
You can also swap eggs with flaxseed meal mixed with water for a vegan twist.
These adjustments guarantee everyone can enjoy your delicious brownies without compromising on taste! Additionally, gluten-free brownies can be just as rich and fudgy as traditional ones, ensuring that they satisfy all chocolate cravings.
Decorating Ideas
Elevate your brownies from simple treats to stunning desserts with a few creative decorating ideas.
Start by choosing frosting options like rich chocolate ganache or a light cream cheese frosting to add a luscious layer.
For topping ideas, sprinkle crushed nuts, colorful sprinkles, or fresh berries on top for a vibrant touch. Drizzle caramel or melted chocolate for an indulgent flair.
You can even cut your brownies into fun shapes and add edible glitter for a festive look. Brownie recipes for a crowd are perfect for gatherings and ensure everyone gets a taste of these delicious treats.
Personalize each brownie with a unique design, and watch your guests rave about these deliciously decorated delights!
Serving Suggestions
When planning the perfect way to serve your brownies, consider how presentation can enhance the experience.
Choose serving styles that suit your occasion—plating them on a decorative tray adds elegance, while individual wrappers lend a casual vibe.
For portion sizes, cut your brownies into bite-sized squares or generous rectangles, depending on your guests' preferences.
You might also consider pairing them with ice cream or whipped cream for an indulgent touch.
Adding fresh berries or a drizzle of chocolate sauce can elevate the visuals and flavors. Additionally, serving your brownies warm can enhance the overall flavor experience, making them even more irresistible.
Make-Ahead and Storage
Although you might be tempted to whip up your brownies the day of your event, making them ahead can save you time and stress.
You can bake your brownies up to three days in advance and keep them in an airtight container at room temperature.
For longer storage, consider freezing brownies. Once cooled, wrap them tightly in plastic wrap and place them in a freezer-safe bag.
This method can extend their brownie shelf life for up to three months. A box brownie recipe can be a great reference for ensuring your homemade brownies are just as delicious.
When you're ready to enjoy them, simply thaw at room temperature or warm them in the oven for that fresh-baked taste.
How to Store Leftovers
Storing leftovers properly guarantees your delicious brownies stay fresh and tasty for days.
First, let them cool completely before wrapping. Use an airtight container or wrap them tightly in plastic wrap.
For longer storage, consider freezer options. Slice the brownies into individual portions, then wrap each piece in plastic wrap and place them in a freezer-safe bag. Make sure to label the bag with the date! No-bake brownies can last up to three months in the freezer.
When you're ready to enjoy, simply thaw them at room temperature or pop them in the microwave for a few seconds.
With these leftover storage tips, you'll savor every bite of your brownies later!
Nutrition Facts(per serving)
Each serving of these delightful brownies packs a satisfying combination of flavors and nutrients. With a caloric content of around 200 calories, you're indulging without overdoing it.
The ingredient breakdown reveals a balance of rich cocoa, wholesome flour, and sweet sugars, providing both energy and pleasure. You'll also find healthy fats from butter or oil, which contribute to that fudgy texture you crave.
Plus, there's a hint of protein from eggs, making these treats not just delicious but also somewhat nutritious. Enjoying a brownie means treating yourself, all while knowing you're fueling your body in a delightful way. Additionally, using an air fryer can create a perfectly cooked brownie with a unique texture and flavor.
Final Thoughts
As you gather with friends or family to enjoy these brownies, remember that this recipe not only satisfies your sweet tooth but also brings people together. Perfect for birthdays, potlucks, or any celebration, these brownies are sure to impress. Utilize baking tips like checking for doneness with a toothpick and allowing them to cool for ideal texture. Additionally, homemade brownies are a popular dessert that can be easily customized to suit various tastes. Don't hesitate to get creative with toppings or mix-ins to personalize your batch! Whether you're serving them warm with ice cream or as a snack, these brownies are a delightful treat that'll create lasting memories.
Enjoy every bite and the company around you!
Recipe FAQs
Can I Use Gluten-Free Flour for This Brownie Recipe?
Absolutely, you can use gluten-free flour! Just picture those rich, fudgy brownies melting in your mouth. Gluten-free alternatives work well, but remember to adjust baking times. Experiment with different baking substitutions for the best results!
What Type of Chocolate Is Best for Brownies?
When choosing chocolate for brownies, dark chocolate adds rich depth and intense flavor, while milk chocolate brings a creamy sweetness. You can mix both for a balanced treat that satisfies every chocolate lover's craving!
How Long Do Brownies Take to Cool Before Cutting?
You'll think the world's ending if you don't wait! Allow your brownies a cooling time of about 30 minutes. Perfect cutting techniques come after, ensuring those fudgy squares remain intact and heavenly. Enjoy every bite!
Can I Freeze Brownies for Later Use?
Yes, you can freeze brownies for later use! For the best freezing practices, wrap them tightly in plastic wrap and place them in an airtight container. This keeps them fresh and delicious for whenever you crave a treat!
What Is the Origin of Brownie Desserts?
You'll find brownies emerged in the late 19th century, showcasing a fascinating baking history. As dessert evolution continued, they evolved into rich, fudgy treats that delight taste buds around the world, becoming a beloved classic.