You might think you need a fancy springform pan to whip up a delicious cheesecake, but that's not the case. Imagine using a simple 9×13 dish instead. It's easier than you think! Just mix your crust, press it in, and pour in the cheesecake batter. But wait—there's more to this method that can elevate your dessert game. Curious about how to make it truly shine? Let's explore the details.
Recipe Tips and Tricks
- You can make cheesecake in any regular baking dish instead of a springform pan, such as a 9×13 inch baking dish.
- Follow a standard cheesecake recipe, ensuring to press the crust firmly into the bottom of the dish.
- Chill the cheesecake thoroughly after baking to achieve the desired texture without a springform pan.
- Use parchment paper to line the baking dish for easier removal of the cheesecake once set.
- No special tools are needed; a simple mixing bowl and spatula are sufficient for preparation.
How To Make It – Recipe
Creating cheesecake without a springform pan is a delightful way to relish this classic dessert without the necessity for special tools. This recipe employs a standard baking dish, making it approachable to anyone who wants to try their hand at cheesecake. The outcome is a creamy, rich dessert that's perfect for any occasion, whether you're celebrating a birthday, hosting a dinner gathering, or simply pampering yourself. Additionally, this no-bake cheesecake is a great way to enjoy a delicious dessert without the hassle of baking.
The secret to a successful cheesecake lies in the preparation and baking procedure. By carefully mixing the ingredients and allowing the cheesecake to cool properly, you can achieve that smooth and velvety texture that everyone adores. Follow this straightforward recipe to create a delicious cheesecake that will impress your family and friends, all without needing a springform pan.
Ingredients:
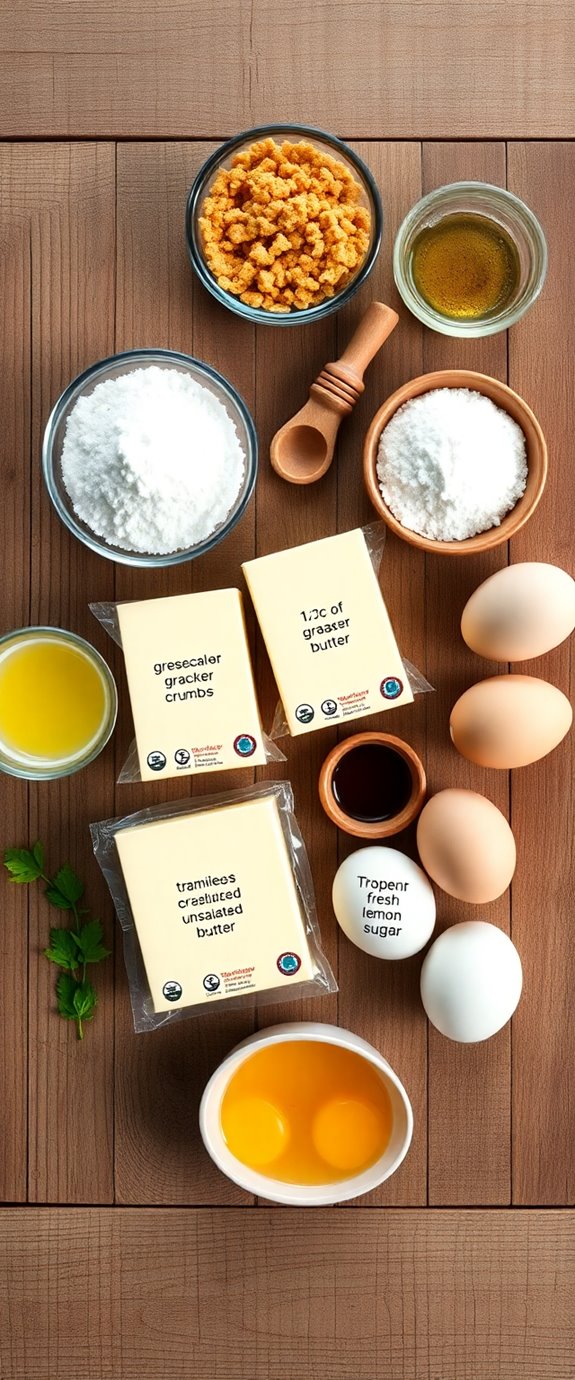
- 1 ½ cups graham cracker crumbs
- ½ cup unsalted butter, melted
- 1 cup granulated sugar
- 4 (8 oz) packages cream cheese, softened
- 1 teaspoon vanilla extract
- 4 large eggs
- 1 cup sour cream
- ¼ cup all-purpose flour
- 1 tablespoon lemon juice
To prepare the cheesecake, preheat your oven to 325°F (160°C). In a medium bowl, combine the graham cracker crumbs and melted butter until well mixed, then press the mixture firmly into the bottom of a greased 9×13 inch baking dish to form the crust.
In a large mixing bowl, beat the softened cream cheese until smooth, then add the sugar, vanilla extract, and lemon juice, mixing until fully incorporated. Gradually add the eggs, one at a time, ensuring each egg is blended in before adding the next. Finally, fold in the sour cream and flour until just combined.
Pour the cream cheese mixture over the crust and smooth the top with a spatula. Bake in the preheated oven for 50-60 minutes or until the edges are set and the center is slightly jiggly. Turn off the oven and leave the cheesecake inside for an additional hour to cool gradually. Remove from the oven and refrigerate for at least 4 hours, preferably overnight, before slicing and serving.
For best results, make sure all your cream cheese is at room temperature before mixing to avoid lumps. Additionally, if you want a firmer cheesecake, you can bake it a little longer, but be cautious not to overbake, as this can lead to cracks on the surface.
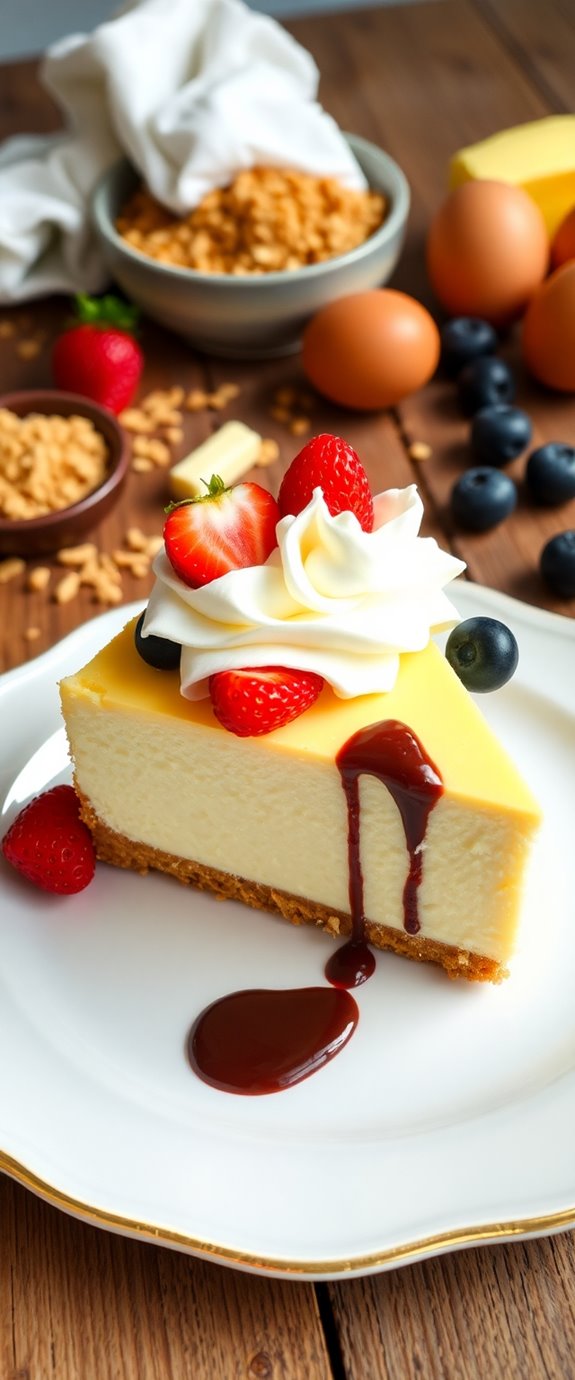
You can also add a fruit topping or a drizzle of chocolate sauce before serving for an extra touch of flavor and presentation. Enjoy your homemade cheesecake!
Substitution Suggestions
While traditional cheesecake recipes often call for specific ingredients, you can easily make substitutions to suit your taste or dietary needs without sacrificing flavor.
If you're looking for cheese alternatives, try using Greek yogurt or silken tofu for a lighter option. For a dairy-free twist, opt for cashew cream or coconut cream.
When it comes to crust options, skip the classic graham crackers and use crushed nuts or oatmeal for a gluten-free base. You can even try a chocolate cookie crust for a richer flavor.
Adding Deliciously Creamy Greek Yogurt to your cheesecake can enhance its texture and provide a refreshing taste.
With these simple swaps, your cheesecake will still be delicious and uniquely yours!
Decorating Ideas
After you've crafted your unique cheesecake with those tasty substitutions, it's time to give it a beautiful finishing touch.
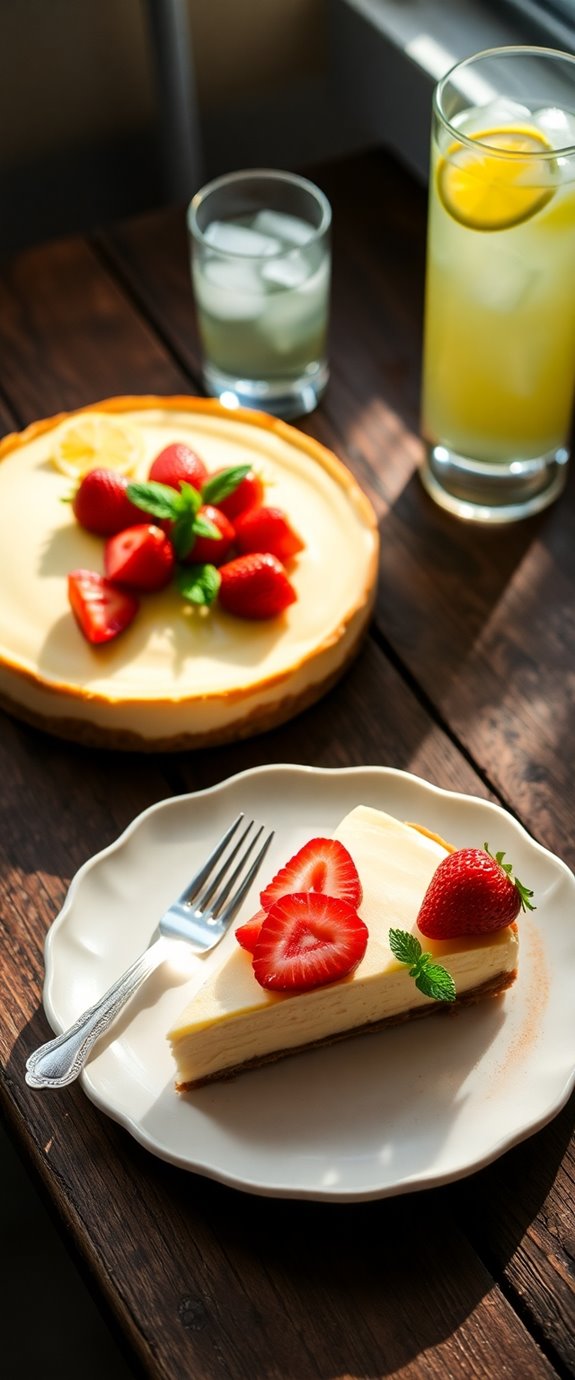
Start by spreading a layer of whipped cream across the top.
Then, choose your favorite cheesecake toppings—think fresh berries, chocolate sauce, or caramel drizzle.
For a pop of color, sprinkle on some festive sprinkles. They'll make your cheesecake look extra special!
You could also add crushed nuts or a dusting of cocoa powder for texture.
Additionally, remember that a delicious homemade cheesecake can be enhanced with complementary flavors like citrus zest or extracts.
The goal is to create a visually appealing masterpiece that'll impress your friends and family.
Enjoy the decorating process—it's half the fun!
Serving Suggestions
Have you ever wondered how to elevate your cheesecake experience? Start by serving it at the right temperature; slightly chilled cheesecake is creamy and delightful.
Cut your cheesecake into manageable portion sizes—think about 1.5 to 2 inches per slice. This way, everyone can enjoy a taste without overindulging.
Pair each slice with fresh fruit or a drizzle of chocolate sauce for an extra touch. If you're feeling adventurous, add a dollop of whipped cream on top. Additionally, consider making a no-bake cheesecake for a simpler preparation process that still delivers on flavor.
Finally, don't forget to serve it with coffee or tea; they complement the rich flavors beautifully. Enjoy your elevated cheesecake experience!
Make-Ahead and Storage
If you're looking to save time or just want to enjoy cheesecake without the last-minute stress, making it ahead of time is a fantastic option.
Start by preparing your cheesecake a day or two in advance; it'll taste even better as the flavors meld.
For make-ahead tips, let it cool completely before covering it tightly with plastic wrap.
When it comes to storage solutions, refrigerate your cheesecake in an airtight container to keep it fresh and delicious.
If you're feeling adventurous, freeze individual slices for a quick treat later. No bake cheesecakes are especially great for make-ahead options since they require no baking time.
You'll thank yourself when dessert time rolls around!
How to Store Leftovers
Once you've enjoyed your delicious cheesecake, you might be left with some tempting leftovers. To keep that creamy goodness fresh, grab some airtight leftover packaging.
Slice your cheesecake into individual portions for easy access later. Place each slice carefully in the packaging, ensuring it's sealed tightly to prevent any unwanted air exposure.
Then, pop them in the fridge for storage. Ideally, you should consume your leftovers within three to six days, but they'll be hard to resist! Remember that no-bake cheesecakes tend to hold their texture and flavor well when stored properly.
When you're ready to indulge again, simply take a slice out and savor it—no need to thaw if you're in the mood right away!
Nutrition Facts(per serving)
When you take a bite of that rich, creamy cheesecake, you mightn't be thinking about the nutrition facts, but it's good to know what you're indulging in.
Each serving typically packs around 300 to 400 calories, depending on your ingredient breakdown. You've got cream cheese, sugar, and a buttery crust contributing most of that calorie content.
The crust alone can add 150 calories! If you're looking to lighten it up, consider using lower-fat cream cheese or a graham cracker alternative for the crust. Delicious Diabetic-Friendly Cheesecake recipes can also help you enjoy a treat without spiking your blood sugar.
Knowing these details helps you enjoy your slice a little more, guilt-free!
Final Thoughts
Whether you're a seasoned baker or just trying your hand at a no-bake dessert, making cheesecake without a springform pan can be a delightful adventure. A delicious no-bake cheesecake can be made easily without the need for special tools or equipment.
Embrace the freedom to experiment with cheesecake variations, like adding chocolate, fruit, or even spices for unique flavor enhancements. You don't need fancy equipment; a regular dish works just fine!
Remember to chill it well for that perfect texture. When you finally slice into your creation, you'll feel a sense of accomplishment.
So, don't hesitate to get creative and have fun with this recipe. Your taste buds will thank you for the delicious journey!
Recipe FAQs
Can I Use a Different Type of Cheese for the Filling?
"Don't put all your eggs in one basket!" You can absolutely mix it up! Try ricotta cheese for a lighter texture or mascarpone cheese for creaminess. Both can create delicious cheesecake variations that surprise your taste buds!
How Long Does It Take to Bake Without a Springform Pan?
When you're cooking without a springform mold, expect your cooking time to increase slightly. Keep the temperature at 325°F, and check for readiness around 50 to 60 minutes. It'll be worth the wait!
Is a Water Bath Necessary for This Cheesecake?
Imagine your cheesecake as a treasure, hidden in a sea of creamy texture. While a water bath isn't strictly necessary, alternatives like a baking dish with water can help prevent cracks and guarantee a smooth finish.
Can I Freeze the Cheesecake After Baking?
Yes, you can freeze your cheesecake after baking! For the best texture, wrap it tightly in plastic, then foil. Thaw it in the fridge overnight before serving for a smooth, creamy delight. Enjoy your treat!
What Type of Pan Is Best for Baking Cheesecake?
When you're baking cheesecake, glass baking dishes work wonders for even cooking. If you're looking for convenience, disposable pans can save you cleanup time. Both options yield delicious results, so choose what suits your needs best!