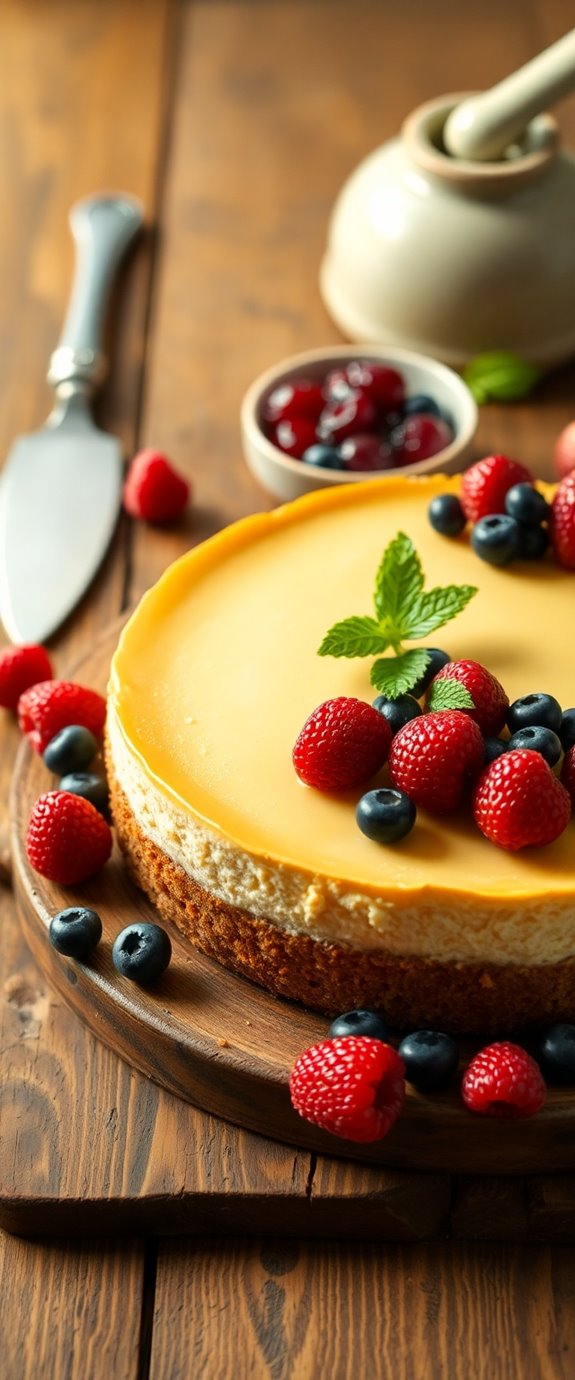
It's funny how a simple craving for something sweet can lead you to discover the joy of cherry cheesecake bars. With their creamy filling and a buttery graham cracker crust, these bars strike the perfect balance between tart and sweet. You'll find they're surprisingly easy to make and perfect for any occasion. Want to know how to whip up this delightful dessert and make it your own?
Recipe Tips and Tricks
- Cherry cheesecake bars feature a creamy cheesecake filling, tart cherries, and a buttery graham cracker crust, perfect for gatherings or personal treats.
- They are customizable with various fruit toppings or chocolate, allowing for different flavor variations.
- The recipe is simple: mix ingredients, bake, cool, and refrigerate before serving for optimal flavor.
- These bars store well in an airtight container for up to a week and can be frozen for three months.
- Serve with whipped cream, vanilla ice cream, or a drizzle of raspberry sauce for an enhanced dessert experience.
How To Make It – Recipe
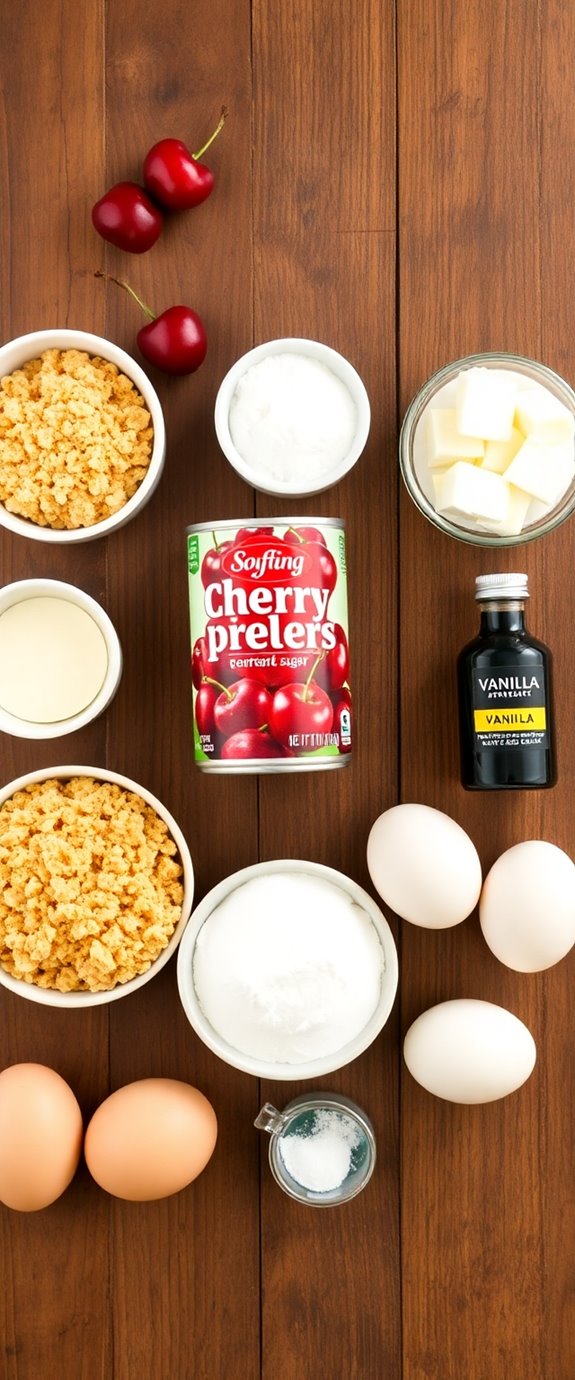
Indulging in cherry cheesecake bars is a delightful way to satisfy your sweet tooth while enjoying the rich flavors of a classic dessert. These bars combine a smooth, creamy cheesecake filling with a burst of tart cherries, all atop a buttery graham cracker crust, making them perfect for any occasion.
Whether you're hosting a gathering or simply treating yourself, this recipe provides a simple yet delicious method to create a dessert that's bound to impress. Making cherry cheesecake bars isn't only a fun activity but also an opportunity to experiment with flavors. You can customize the filling with different fruit toppings or even add a hint of chocolate for a twist. Once you try this recipe, you'll find that these bars are easy to prepare and can be enjoyed chilled or at room temperature, making them a versatile dessert choice.
For a similar dessert experience, you might also enjoy making Deliciously Creamy Homemade Strawberry Cheesecake which offers a different fruity flavor profile.
Ingredients:
- 1 ½ cups graham cracker crumbs
- ½ cup unsalted butter, melted
- ⅓ cup granulated sugar
- 16 oz cream cheese, softened
- 1 cup powdered sugar
- 2 large eggs
- 1 tsp vanilla extract
- 1 can (21 oz) cherry pie filling
Instructions:
Preheat your oven to 325°F (160°C) and line a 9×13 inch baking pan with parchment paper. In a medium bowl, combine the graham cracker crumbs, melted butter, and granulated sugar until the mixture resembles wet sand.
Press this mixture firmly into the bottom of the prepared baking pan to form the crust. In a large mixing bowl, beat the softened cream cheese with the powdered sugar until smooth. Add eggs one at a time, mixing well after each addition, and stir in the vanilla extract.
Pour the cream cheese mixture over the crust and spread it evenly. Bake for 25-30 minutes or until the center is set but still slightly jiggly. Remove from the oven and let it cool completely before topping with the cherry pie filling. Refrigerate for at least 2 hours before slicing into bars.
Extra Tips:
For best results, verify that your cream cheese is at room temperature to avoid lumps in the filling. You can also experiment with different fruit toppings like blueberries or strawberries for a variation on the classic flavor.
To make cutting the bars easier, use a sharp knife and clean it between cuts. Finally, these bars can be stored in the refrigerator for up to a week, making them an excellent make-ahead dessert option. Enjoy your homemade cherry cheesecake bars!
Substitution Suggestions
If you're looking to switch things up or accommodate dietary preferences, there are plenty of substitution options for your cherry cheesecake bars.
For a lighter option, consider using low-fat cream cheese or Greek yogurt instead of regular cream cheese; both will give you that creamy texture while cutting calories.
If you're gluten-free, swap out traditional graham crackers for almond flour or gluten-free cookie crumbs.
For a vegan twist, try cashew cream in place of cream cheese and maple syrup instead of sugar.
These substitutions keep the essence of your bars intact while catering to various tastes and dietary needs. Enjoy experimenting! Additionally, you can create a delicious Keto Strawberry Cheesecake by using similar substitution techniques to enhance your dessert options.
Decorating Ideas
While you savor the deliciousness of your cherry cheesecake bars, consider elevating their visual appeal with some creative decorating ideas.
Start with topping options like whipped cream or a drizzle of chocolate sauce for added indulgence. Fresh mint leaves can provide a vibrant contrast, while crushed graham crackers add texture. You can also incorporate raspberry cheesecake bars to create a delightful flavor combination.
For presentation tips, serve them on a colorful platter or individual dessert cups. Garnish each bar with a cherry on top, and don't forget to sprinkle some powdered sugar for an elegant touch.
These simple enhancements can transform your dessert into a stunning centerpiece that's sure to impress your guests!
Serving Suggestions
After you've beautifully decorated your cherry cheesecake bars, it's time to think about how to serve them for maximum enjoyment.
Cut the bars into generous serving sizes, making sure each piece has a luscious layer of cherry topping.
For an elegant touch, serve them on a platter lined with fresh mint leaves.
Pair your bars with a dollop of whipped cream or a scoop of vanilla ice cream to elevate the flavors.
Consider offering coffee or tea alongside for a delightful contrast.
To add a refreshing twist, you might also try drizzling some deliciously simple raspberry sauce over the bars for an extra burst of flavor.
These serving suggestions won't only impress your guests but also enhance the overall experience of savoring your delicious creation.
Make-Ahead and Storage
To enjoy your cherry cheesecake bars at their best, you can easily make them ahead of time.
Prepare the bars a day or two in advance, allowing the flavors to meld beautifully. After baking, let them cool completely before cutting into squares.
For storage tips, place the bars in an airtight container, separating layers with parchment paper to prevent sticking. They'll stay fresh in the fridge for up to several days.
If you want to keep them longer, freeze the bars wrapped tightly in plastic wrap, then foil, for up to three months. Gluten free desserts offer a delicious alternative for those with dietary restrictions.
Enjoy delightful, chilled treats whenever you crave!
How to Store Leftovers
When you've enjoyed your cherry cheesecake bars and have leftovers, it's essential to store them properly to maintain their delicious flavor and texture.
For ideal leftover storage, place the bars in an airtight container, layering parchment paper between them to prevent sticking. Refrigerate them to guarantee cheesecake preservation, keeping them fresh for up to a week. The same principle applies to gluten-free desserts, ensuring they retain their quality over time.
If you want to enjoy them later, consider freezing the bars. Wrap each piece tightly in plastic wrap and then store them in a freezer-safe container.
This way, you can savor the delightful taste of cherry cheesecake bars whenever you crave a sweet treat!
Nutrition Facts(per serving)
Indulging in a delicious cherry cheesecake bar comes with a satisfying balance of flavors and textures, but it's also important to know what you're consuming.
Each serving typically contains around 250 calories, making it a delightful yet mindful treat. The caloric content stems from a rich ingredient breakdown: buttery crust, cream cheese, sugar, and those luscious cherries.
You'll also find healthy fats from the cream cheese and the sweet-tart goodness of fruit. In addition to the classic flavors, these bars are enhanced by decadent cherry cheesecake brownies, which offer a unique twist on traditional cheesecake desserts. By being aware of these nutritional details, you can truly enjoy every bite while keeping your dietary goals in check.
Savoring these bars can be both indulgent and informed!
Final Thoughts
Cherry cheesecake bars offer a delightful balance of flavors that can elevate any dessert experience.
When you immerse yourself in taste testing these treats, you'll discover the creamy richness of the cheesecake harmoniously paired with the tartness of cherries. This flavor pairing not only pleases your palate but also creates a stunning visual contrast.
Whether you're serving them at a gathering or enjoying them solo, these bars are sure to impress. So, don't hesitate to whip up a batch! They're simple to make and perfect for sharing, ensuring everyone gets to savor this delicious dessert delight. Additionally, the combination of sweet and salty flavors from the salty crumble adds an extra layer of complexity to each bite. Enjoy every bite!
Recipe FAQs
Can I Use Fresh Cherries Instead of Canned for These Bars?
Absolutely, you can use fresh cherries! They offer vibrant flavor and added nutrients. Just wash, pit, and chop them properly. Consider macerating them with sugar for extra sweetness, enhancing your dish's overall taste and texture. Enjoy!
How Long Do Cherry Cheesecake Bars Last in the Fridge?
Cherry cheesecake bars typically last about five to seven days in the fridge. For ideal freshness, store them in an airtight container. Following these storage tips helps maximize their shelf life and keeps them delicious!
Can I Freeze Cherry Cheesecake Bars for Later Use?
Yes, you can freeze them! To guarantee quality, use proper freezing tips like wrapping tightly and labeling. For best results, consider storing methods that prevent freezer burn, keeping them delicious for your future indulgence.
What Type of Cream Cheese Is Best for This Recipe?
When choosing cream cheese, it's best to use full-fat for a rich texture, but you can experiment with light vs heavy options. Flavored cream cheeses can add a unique twist, enhancing your recipe's overall taste.
Are There Gluten-Free Options for the Crust?
You might think gluten-free options lack flavor, but you'd be pleasantly surprised. Using gluten-free flours or alternative crusts, like almond or coconut, can create a delicious base that complements your dessert perfectly. Enjoy experimenting!