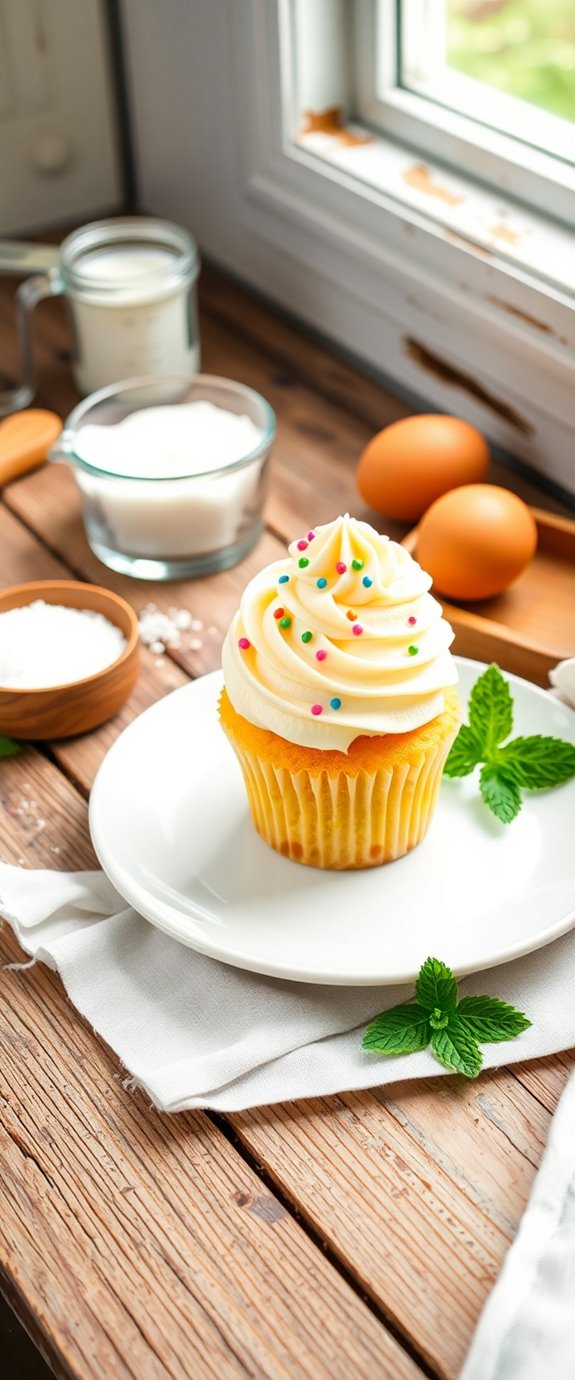
If you think dairy-free cupcakes lack flavor or texture, think again. These cupcakes are light, fluffy, and bursting with deliciousness, making them a perfect treat for any occasion. With simple ingredients and easy preparation, you can create a delightful dessert that caters to various dietary needs. Want to learn how to whip up these scrumptious cupcakes and customize them to your taste? Let's explore the recipe and more!
Recipe Tips and Tricks
- Combine 1 ½ cups flour, 1 cup sugar, and optional ½ cup cocoa powder for the dry mix.
- Mix wet ingredients: 1 cup almond milk, ⅓ cup oil, 1 tbsp apple cider vinegar, and 1 tsp vanilla.
- Gently combine wet and dry ingredients, ensuring not to overmix for fluffy cupcakes.
- Bake at 350°F (175°C) for 18-20 minutes and cool completely before adding frosting.
- Customize with dairy-free frosting, fruits, or chocolate shavings for personalized treats.
How To Make It – Recipe
If you're looking for a delicious dessert that caters to dairy-free diets, these dairy-free cupcakes are the perfect solution. They're light, fluffy, and incredibly easy to make, allowing you to satisfy your sweet tooth without compromising on taste.
Whether you're hosting a party, celebrating a special occasion, or simply indulging in a treat for yourself, these cupcakes will surely impress your family and friends.
To make these dairy-free cupcakes, you'll need to gather a few simple ingredients that you might already have in your pantry. They can easily be customized with your favorite dairy-free frosting or fillings, making them versatile for any occasion.
Plus, this recipe isn't only dairy-free but also suitable for those who are vegan, as it substitutes traditional ingredients with plant-based alternatives. Dairy-free diets are becoming increasingly popular for health and ethical reasons.
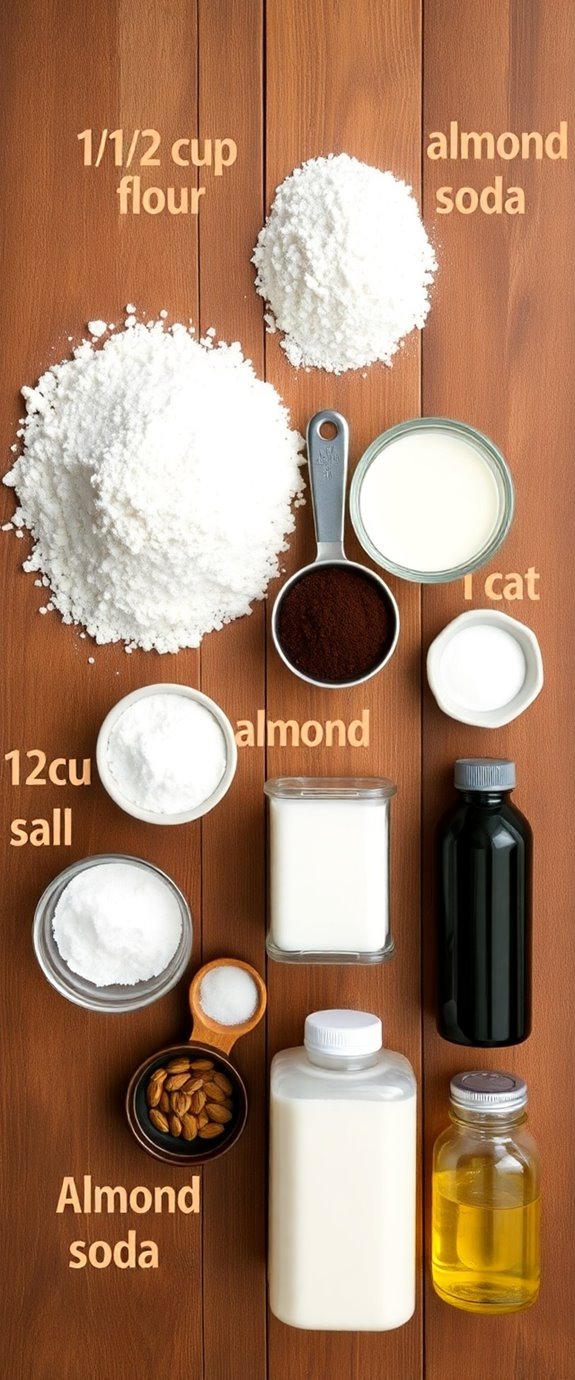
Ingredients:
- 1 ½ cups all-purpose flour
- 1 cup granulated sugar
- ½ cup unsweetened cocoa powder (optional for chocolate cupcakes)
- 1 tsp baking soda
- ½ tsp salt
- 1 cup almond milk (or any dairy-free milk)
- ⅓ cup vegetable oil
- 1 tbsp apple cider vinegar
- 1 tsp vanilla extract
Instructions:
Preheat your oven to 350°F (175°C) and line a muffin tin with cupcake liners.
In a large mixing bowl, whisk together the flour, sugar, cocoa powder (if using), baking soda, and salt until well combined.
In a separate bowl, mix the almond milk, vegetable oil, apple cider vinegar, and vanilla extract.
Pour the wet ingredients into the dry ingredients, stirring gently until just combined. Be careful not to overmix.
Divide the batter evenly among the cupcake liners, filling each about two-thirds full.
Bake in the preheated oven for 18-20 minutes or until a toothpick inserted into the center comes out clean.
Allow the cupcakes to cool completely on a wire rack before frosting.
Extra Tips:
For the best results, make sure that all your ingredients are at room temperature before you start mixing, as this helps to create a smoother batter.
You can experiment with different flavors by adding citrus zest, spices, or extracts to the batter.
If you're looking for a healthier option, consider substituting some of the sugar with a natural sweetener like maple syrup or agave nectar, but be mindful that this may alter the texture slightly.
Always check the labels on your ingredients to verify they're truly dairy-free. Enjoy your baking!
Substitution Suggestions
When you're whipping up these dairy-free cupcakes, don't hesitate to get creative with ingredient substitutions that can enhance flavor or cater to specific dietary needs.
For butter, try coconut oil or vegan margarine as fantastic dairy alternatives that maintain moisture. If you need milk, almond milk or oat milk works beautifully—just choose unsweetened varieties to control sweetness.
For eggs, consider flaxseed meal or applesauce as effective ingredient swaps that keep your cupcakes fluffy. Additionally, using different sweeteners can elevate the overall taste profile and cater to various dietary preferences.
Don't forget to experiment with different sweeteners like maple syrup or agave for added depth.
With these substitutions, your dairy-free cupcakes will shine in taste and texture!
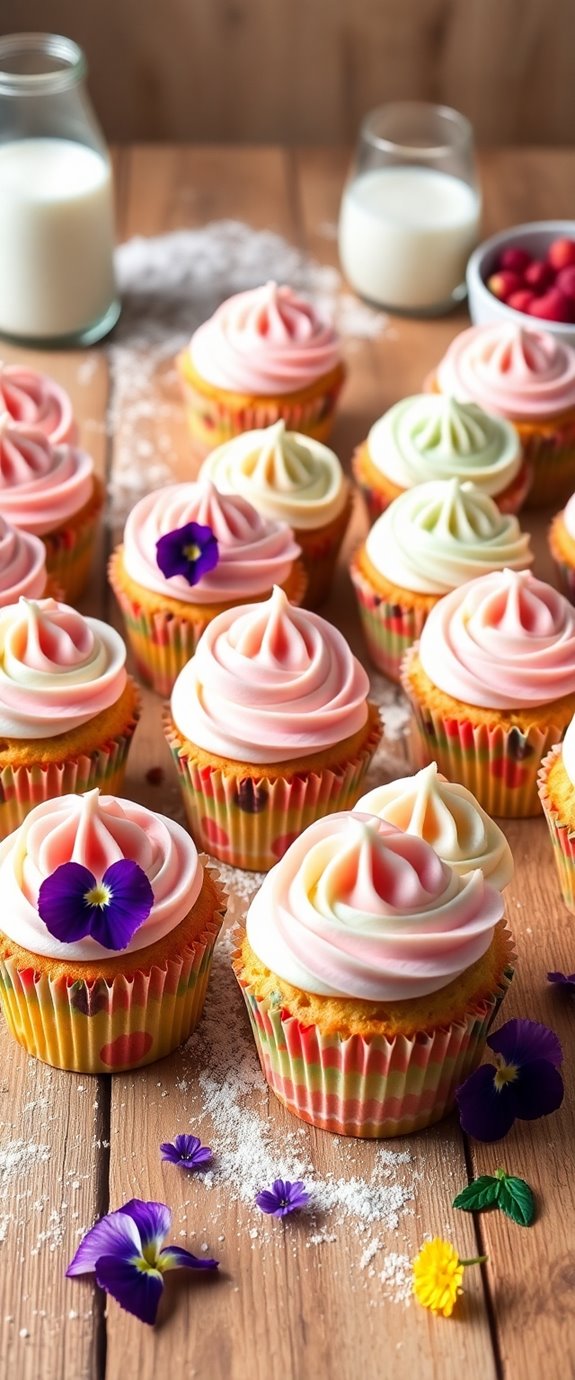
Decorating Ideas
While your dairy-free cupcakes are cooling, it's the perfect time to think about how to transform them into visually stunning treats.
Start by experimenting with different frosting techniques; consider using a piping bag to create swirls or rosettes for an elegant look. You can also try a spatula for a rustic finish.
Don't forget to add edible decorations like fresh fruit, edible glitter, or dairy-free chocolate shavings to enhance your cupcakes' appeal. Incorporating dairy-free cupcake icing can also elevate the overall flavor and presentation.
Sprinkling some chopped nuts or coconut flakes can add texture too. Let your creativity shine, and enjoy making your cupcakes as delightful to the eyes as they're to the taste buds!
Serving Suggestions
After you've adorned your dairy-free cupcakes with delightful decorations, it's time to think about how to serve them.
Consider offering a variety of frosting variations, like rich chocolate ganache or zesty lemon icing, to cater to different tastes.
For an extra touch, create flavor pairings by serving your cupcakes alongside an invigorating fruit salad or a scoop of dairy-free ice cream.
You might even display them on a tiered cake stand for a stunning centerpiece at your gathering. Additionally, consider using healthy alternatives in your frosting recipes to keep your desserts indulgent yet nutritious.
With these serving suggestions, your dairy-free cupcakes will be the star of the show, delighting everyone with every bite!
Make-Ahead and Storage
To guarantee your dairy-free cupcakes are ready for any occasion, you can easily make them ahead of time.
Start by baking your cupcakes a day or two in advance. Once cooled, place them in airtight storage containers to keep them fresh.
For extra make-ahead tips, consider freezing the cupcakes! Just wrap them individually in plastic wrap before placing them in a freezer-safe container. Delicious Cupcakes for Diabetics can also be a fantastic option for those looking for healthier dessert choices.
When it's time to serve, simply thaw them at room temperature. This way, you'll always have delicious treats on hand, ready to impress your guests without the last-minute rush.
Enjoy the convenience of planning ahead!
How to Store Leftovers
Once your dairy-free cupcakes have graced the table and a few have found their way into hungry mouths, it's important to think about how to store any leftovers properly.
For ideal leftover storage, let the cupcakes cool completely before sealing them in an airtight container. This prevents moisture loss and keeps them fresh.
If you're planning to enjoy them later, refrigeration is key. Place the container in the fridge, and they'll stay delightful for up to a week. Gluten free cupcakes can also be frozen for longer storage, making them a great treat to have on hand.
Just remember to let them come to room temperature before serving again. These simple refrigeration tips guarantee your treats remain scrumptious!
Nutrition Facts(per serving)
When you indulge in one of these delightful dairy-free cupcakes, you're not just treating your taste buds; you're also savoring a dessert that can fit into various dietary preferences.
Each serving boasts a calorie count of around 150, making them a guilt-free indulgence. The blend of almond flour and coconut milk not only keeps them moist but also adds healthy fats and fiber, enhancing your overall nutrition.
The natural sweetness from maple syrup offers a lower glycemic option compared to regular sugar, providing ingredient benefits that align with your health goals. Additionally, using gluten-free flours ensures that these cupcakes cater to those with gluten sensitivities.
Enjoy a cupcake that's both delicious and nourishing!
Final Thoughts
While you might think that dairy-free desserts lack flavor or richness, these cupcakes prove otherwise. With their moist texture and decadent taste, you'll discover delicious alternatives that satisfy your sweet tooth without compromising on flavor. Additionally, these healthier chocolate cupcakes are a perfect example of how you can enjoy indulgent treats without the guilt.
Whether you're vegan or simply exploring new options, these cupcakes offer a delightful experience for everyone. You can easily customize them with various flavors and toppings, ensuring each bite is a treat.
Recipe FAQs
Can I Use Gluten-Free Flour in This Recipe?
Yes, you can use gluten-free flour in this recipe! It's a fantastic option if you're looking for gluten-free alternatives. Just choose suitable flour substitutes to maintain texture and flavor for delicious results. Enjoy your baking!
What Is the Best Dairy-Free Milk Alternative to Use?
When choosing a dairy-free milk alternative, consider almond milk benefits for its creaminess and nutty flavor, or explore oat milk for a rich texture. Each offers unique advantages, so pick what suits your taste best!
How Can I Make These Cupcakes Chocolate-Flavored?
To make your cupcakes chocolate-flavored, try using cocoa powder or melted dairy-free chocolate as chocolate substitutions. For flavor enhancements, add a splash of vanilla extract or a pinch of espresso powder to intensify the chocolate taste.
Are There Vegan Frosting Options for These Cupcakes?
Absolutely, you've got great vegan frosting options! Consider using coconut cream, avocado, or cashew-based frosting alternatives. They're creamy, delicious, and can be flavored with cocoa or vanilla to elevate your cupcakes beautifully. Enjoy experimenting!
How Do I Adjust Baking Time for Mini Cupcakes?
When preparing mini cupcakes, lessen the baking duration by about 5-10 minutes. Maintain the same baking temperature, but verify for doneness with a toothpick in the center of the mini cupcake trays for perfect results.