Did you know that the secret to a truly gooey cookie lies not just in the ingredients, but also in the baking technique? Achieving that perfect balance of chewy and soft can elevate your dessert game greatly. With the right approach, you can create cookies that are irresistibly delicious and satisfying. If you're curious about how to master this art, stick around for some tips and tricks that will transform your cookie-making experience.
Recipe Tips and Tricks
- Use a balance of unsalted butter, granulated sugar, and brown sugar to achieve a chewy and gooey texture in cookies.
- Chill the cookie dough for at least 30 minutes before baking to enhance shape and flavor while maintaining gooeyness.
- Monitor baking time closely, baking for 10-12 minutes until edges are golden and centers appear soft for the perfect gooey cookie.
- Incorporate a variety of chocolate chips for added flavor and texture; feel free to experiment with different types.
- Store cookies in airtight containers and freeze individual cookie balls to preserve freshness and enjoy later.
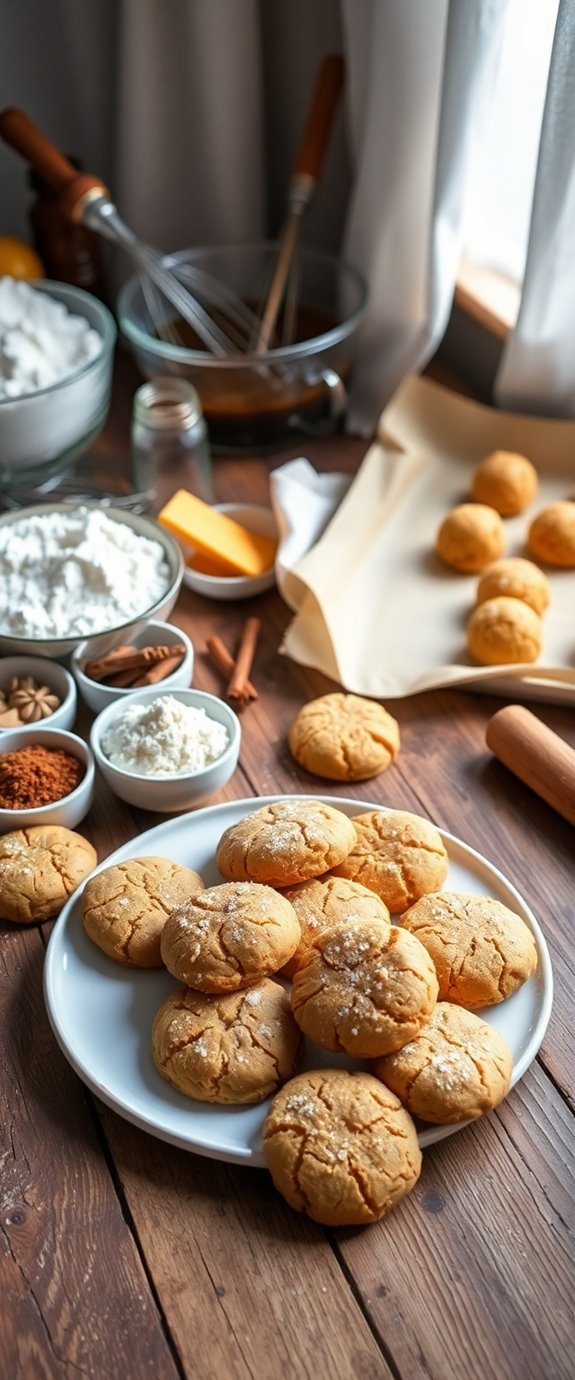
How To Make It – Recipe
To make delicious gooey cookies, you'll want to begin by gathering your ingredients and prepping your kitchen. These cookies are characterized by their soft, chewy centers and slightly crisp edges, making them a favorite for cookie lovers of all ages. The key to achieving that perfect gooey texture lies in the combination of the right ingredients and proper baking time. Additionally, using a mix of brown sugar** and granulated sugar will contribute to the cookies' rich flavor and moisture**.
Start by confirming that your butter is at room temperature, as this will help create a creamy, fluffy consistency when mixed with the sugars. Once you have everything ready, you'll be just minutes away from enjoying warm, gooey cookies fresh from the oven!
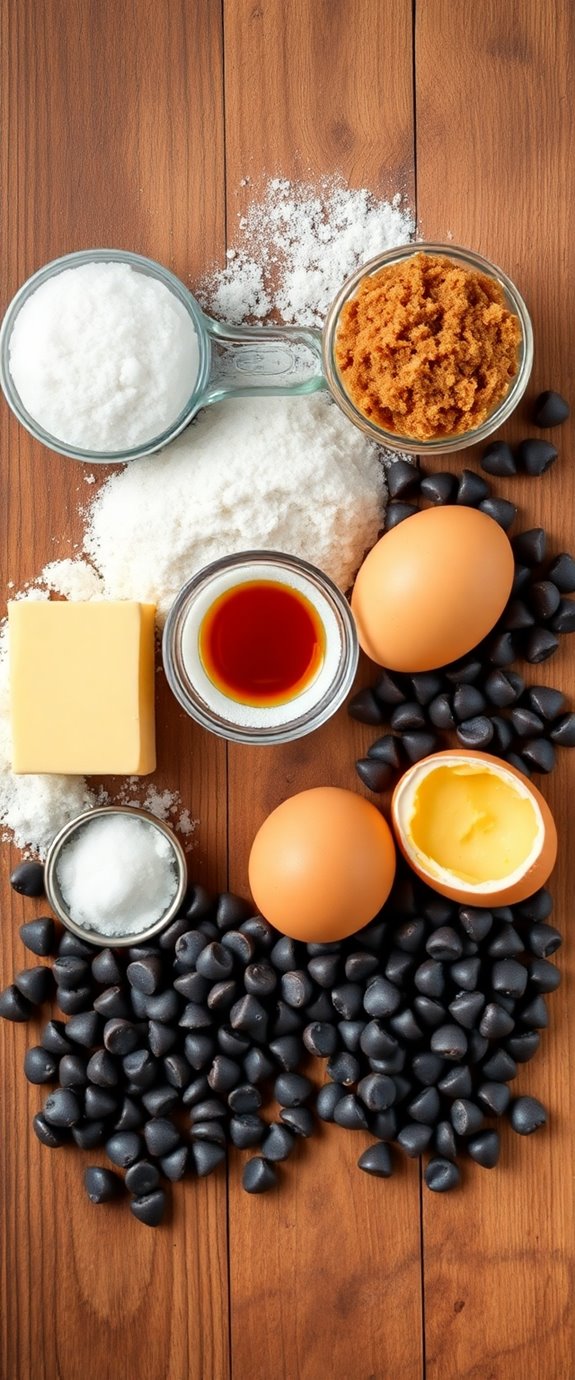
Ingredients:
- 1 cup unsalted butter, softened
- 3/4 cup granulated sugar
- 3/4 cup packed brown sugar
- 1 teaspoon vanilla extract
- 2 large eggs
- 2 1/4 cups all-purpose flour
- 1 teaspoon baking soda
- 1/2 teaspoon salt
- 2 cups chocolate chips
To begin, preheat your oven to 350°F (175°C) and line baking sheets with parchment paper. In a large mixing bowl, cream together the softened butter, granulated sugar, and brown sugar until light and fluffy.
Beat in the eggs one at a time, followed by the vanilla extract. In another bowl, whisk together the flour, baking soda, and salt. Gradually add the dry ingredients to the wet ingredients, mixing until just combined.
Fold in the chocolate chips until evenly distributed. Drop heaping tablespoons of cookie dough onto the prepared baking sheets, leaving space between each cookie. Bake for 10-12 minutes, or until the edges are lightly golden but the centers still look soft.
Allow the cookies to cool on the baking sheets for a few minutes before transferring them to a wire rack. For the best results, consider chilling the cookie dough for at least 30 minutes before baking. This will help the cookies maintain their shape and enhance the flavors.
Keep an eye on the baking time; every oven is different, and you want to avoid overbaking them to confirm that gooey texture. Enjoy your freshly baked cookies with a glass of milk or share them with friends for a delightful treat!
Substitution Suggestions
If you're looking to customize your gooey cookie recipe, there are plenty of substitution options that can enhance flavor or accommodate dietary needs.
For a rich and creamy texture without dairy, try coconut oil or almond milk as dairy alternatives. If you're avoiding gluten, consider using almond flour or a gluten-free flour blend as gluten substitutes. These options not only maintain the gooey goodness but also add unique flavors.
You can also sweeten your cookies with maple syrup or coconut sugar for a healthier twist. Experimenting with these substitutions can lead to delightful new variations of your favorite treat! Additionally, using gluten-free flour blends can help achieve the perfect cookie texture while catering to those with dietary restrictions.
Decorating Ideas
While you might be tempted to devour your gooey cookies straight from the oven, taking a moment to decorate them can elevate your treat into a masterpiece.
Think about vibrant cookie toppings like colorful sprinkles, drizzled chocolate, or creamy frosting to enhance their appeal. For festive themes, consider using seasonal colors—red and green for Christmas or pastels for spring. A variety of Christmas cookie recipes can inspire unique designs and flavors.
Edible glitter can add a touch of sparkle, making your cookies truly eye-catching.
Don't forget to experiment with shapes and patterns; a simple swirl can transform a regular cookie into a delightful work of art, perfect for any occasion!
Serving Suggestions
Serving gooey cookies can be just as important as baking them, and a few thoughtful touches can make all the difference.
Consider presenting your cookies on a rustic wooden board, letting their warmth and charm shine through. Pair them with a glass of cold milk or a scoop of vanilla ice cream for a delightful contrast.
For a creative twist, try cookie pairings like chocolate chip cookies with a rich espresso or oatmeal raisin with spiced chai. Additionally, serving peanut butter oatmeal cookies can introduce a new layer of flavor and texture to your dessert spread.
You might also arrange them in a decorative box or bag for a sweet gift. These serving styles elevate your homemade treats to a whole new level!
Make-Ahead and Storage
When you're craving gooey cookies but want to save time, making them in advance is a fantastic option.
The make-ahead benefits are plenty: you can prepare the dough and refrigerate it for up to three days, or freeze individual cookie balls for up to three months. This way, you'll always have fresh cookies on hand! Additionally, using a no-bake cookie recipe can simplify the process even further.
For the best results, wrap your dough tightly in plastic wrap or store it in an airtight container.
When you're ready to bake, just thaw and pop them in the oven.
With these storage tips, you'll enjoy gooey goodness whenever the urge strikes!
How to Store Leftovers
To keep your leftover gooey cookies tasting fresh and delicious, proper storage is key.
Start by letting them cool completely on a wire rack. Once they're cooled, place the cookies in airtight storage containers to maintain their irresistible cookie freshness.
If you've got multiple layers, separate them with parchment paper to prevent sticking.
For longer storage, consider freezing them; just wrap each cookie individually in plastic wrap before placing them in a freezer-safe container. Homemade cookies can last for several months when stored properly in the freezer.
When you're ready to indulge again, let them thaw at room temperature for that perfect gooey texture.
Enjoy every heavenly bite!
Nutrition Facts(per serving)
After enjoying your gooey cookies, you might wonder about their nutritional impact. Each serving packs around 150 calories, making them a delightful treat without too much guilt.
The ingredient breakdown shows a balance of sugars, fats, and carbohydrates, primarily from butter, sugar, and flour. You'll also find a hint of protein from the eggs. Additionally, these cookies can be made gluten-free and dairy-free, which makes them accessible for those with dietary restrictions, allowing more people to enjoy delicious gluten-free treats.
While these cookies are indulgent, consider enjoying them in moderation, especially if you're watching your caloric content. They're perfect for satisfying your sweet tooth while providing a tasty source of energy.
Final Thoughts
Though you may have enjoyed every gooey bite of your cookies, it's essential to reflect on the joy they bring to your baking experience.
Each batch is a chance to experiment with cookie variations, from adding nuts to trying different chocolate types. Remember, baking tips like measuring ingredients accurately and chilling dough can elevate your treats. The key to achieving those chewy chocolate chip cookies lies in the balance of ingredients and baking time.
Embrace the process, and don't be afraid to make mistakes; they often lead to delightful surprises.
So, whether you're sharing with friends or savoring them solo, let these cookies remind you of the comfort and creativity that baking truly offers.
Happy baking!
Recipe FAQs
Can I Use Gluten-Free Flour for This Cookie Recipe?
Absolutely, you can use gluten-free flour for this cookie recipe! Just choose a quality flour substitute like almond or oat flour. They'll give your cookies a delicious, chewy texture while keeping them gluten-free and satisfying.
How Can I Make These Cookies Vegan-Friendly?
To transform your cookies into vegan delights, swap eggs with applesauce or flaxseed meal. Use plant-based butter and non-dairy milk as vegan substitutes. Your cookies will still taste heavenly, bursting with flavor and compassion!
What Is the Ideal Baking Temperature?
For perfect cookies, preheat your oven to 350°F. This temperature works well for various cookie sizes, ensuring they bake evenly. Adjust baking time depending on size; smaller cookies may need about 8-10 minutes, while larger ones require more.
Can I Freeze the Dough Before Baking?
Yes, you can freeze the dough before baking! It's best to store it in an airtight container for up to three months. When you're ready, just thaw it in the fridge overnight before baking. Enjoy!
How Do I Achieve a Firmer Cookie Texture?
To achieve cookie firmness, try chilling your dough before baking. Use less sugar and more flour for a denser texture. Experiment with baking times and temperatures for best results. Follow these texture tips for perfect cookies!