Did you know that over 50% of Americans favor chocolate desserts, making them a top selection for sweet indulgence? Oreo brownies perfectly combine rich, fudgy brownie texture with the iconic crunch of Oreos, creating a dessert that's hard to resist. Whether you're a novice baker or a seasoned expert, this recipe is straightforward and gratifying. Want to discover how to elevate this delicacy and impress your guests?
Recipe Tips and Tricks
- Combine melted butter, sugar, eggs, and vanilla, then mix in dry ingredients for a fudgy brownie base.
- Fold in crushed Oreo cookies for added crunch and flavor.
- Pour batter into a prepared pan, topping with whole Oreo cookies before baking.
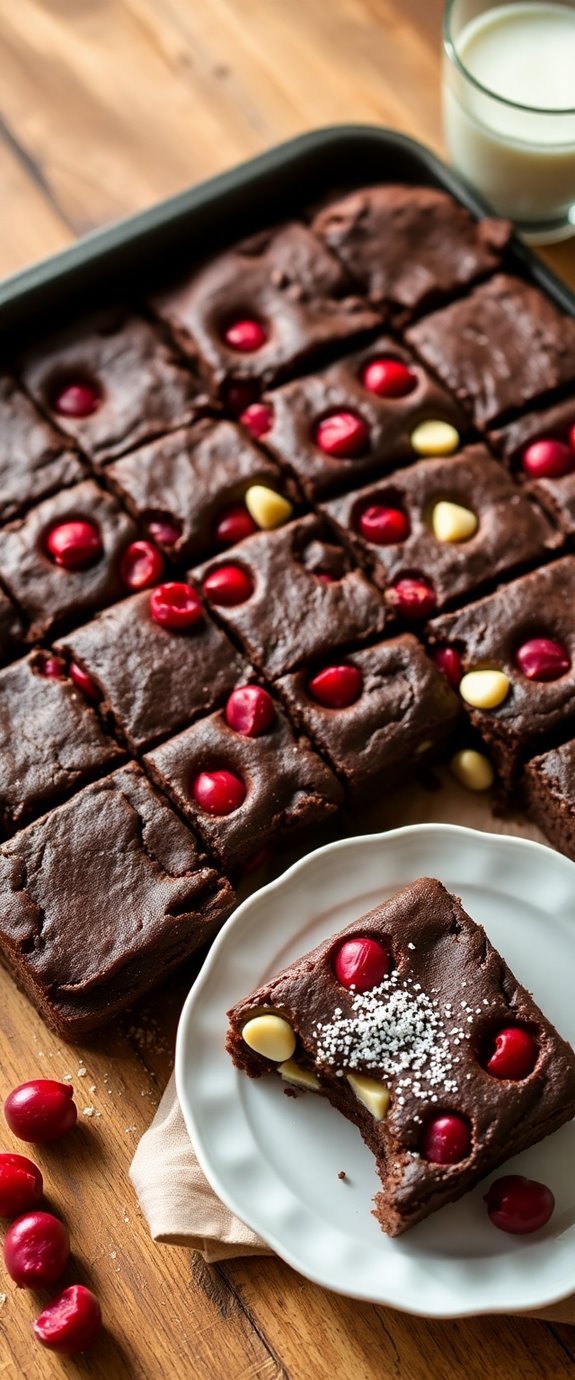
- Bake at 350°F (175°C) for 25-30 minutes to achieve the perfect texture.
- Serve warm with ice cream or drizzle with chocolate sauce for an indulgent treat.
How To Make It – Recipe

Oreo brownies are a delicious and indulgent dessert that combines the rich, fudgy texture of brownies with the crunchy, creamy goodness of Oreo cookies. This recipe is perfect for chocolate lovers and is sure to impress your friends and family at any gathering. The result is a truly decadent Oreo fudge brownie that will leave everyone wanting more.
With a simple list of ingredients and straightforward steps, you can whip up a batch of these delightful treats in no time.
To start, preheat your oven to 350°F (175°C) and prepare a baking pan by greasing it or lining it with parchment paper for easy removal. The key to achieving that perfect brownie texture is to mix your ingredients carefully, ensuring not to overmix after adding the dry ingredients. The addition of crushed Oreos will add a delightful crunch and flavor that pairs beautifully with the chocolatey brownie base.
Ingredients:
- 1 cup unsalted butter
- 2 cups granulated sugar
- 4 large eggs
- 1 teaspoon vanilla extract
- 1 cup all-purpose flour
- 1 cup unsweetened cocoa powder
- 1/2 teaspoon salt
- 1 cup crushed Oreo cookies
- 10 whole Oreo cookies (for topping)
To make the brownies, start by melting the butter in a saucepan over low heat. Once melted, remove it from the heat and stir in the sugar until well combined.
Then, add the eggs one at a time, mixing well after each addition, followed by the vanilla extract. In a separate bowl, whisk together the flour, cocoa powder, and salt. Gradually add the dry ingredients to the wet mixture, stirring until just combined.
Gently fold in the crushed Oreo cookies, being careful not to overmix. Pour the batter into the prepared baking pan, spreading it evenly, and top with the whole Oreo cookies. Bake for 25-30 minutes, or until a toothpick inserted into the center comes out with a few moist crumbs.
Extra Tips: For an even more decadent treat, consider adding chocolate chips to the brownie batter or drizzling melted chocolate on top after they've cooled.
Make sure to let your brownies cool completely in the pan before cutting them into squares for clean edges. Store any leftovers in an airtight container at room temperature for up to three days, or refrigerate for extended freshness. Enjoy your homemade Oreo brownies!
Substitution Suggestions
If you're looking to customize your Oreo brownies, there are plenty of tasty substitutions that can elevate your dessert.
For a fudgy texture, swap regular butter for coconut oil; it adds a subtle flavor and moisture.
If you want vegan alternatives, use flax eggs instead of regular eggs—just mix ground flaxseed with water.
For gluten free options, replace all-purpose flour with almond flour or a gluten-free blend.
You can even try using crushed gluten-free Oreos for that perfect crunch.
Additionally, consider using decadent chocolate to enhance the richness of your brownies.
With these simple tweaks, you'll create a deliciously unique treat that caters to your dietary needs without sacrificing taste!
Decorating Ideas
Once you've perfected your Oreo brownies with those tasty substitutions, it's time to make them visually irresistible.
Start by drizzling melted chocolate or white chocolate over the top for a glossy finish. Sprinkle crushed Oreos and colorful sprinkles for an eye-catching touch.
Consider layering different Oreo toppings, like mini marshmallows or caramel sauce, to create a delightful surprise in every bite. Incorporating Oreo Cream Cheese can enhance the richness and creaminess of your brownies.
For creative presentations, cut your brownies into fun shapes or use cupcake liners for individual servings.
Adding a dollop of whipped cream or a scoop of ice cream on the side can elevate your dessert to a whole new level!
Serving Suggestions
When it comes to serving your delicious brownies, presentation can make all the difference. Start by cutting the brownies into neat squares, then stack them on a decorative plate for an inviting look.
Enhance your dessert presentations by drizzling warm chocolate sauce over the top and sprinkling crushed Oreos for extra flair. Consider pairing your brownies with a scoop of vanilla ice cream or a dollop of whipped cream; these Oreo pairings elevate the experience.
For a touch of elegance, add a sprig of mint or fresh berries on the side. Additionally, serving your brownies in a mug or cup can create a fun and casual atmosphere. Enjoy the smiles as your guests dig in!
Make-Ahead and Storage
To guarantee your Oreo brownies remain fresh and delectable, you can easily make them ahead of time and store them properly.
One of the best make-ahead tips is to bake the brownies a day or two in advance. Allow them to cool completely before cutting into squares.
For ideal freshness, place the brownies in airtight storage containers. You can even layer them with parchment paper to prevent sticking.
If you plan to keep them longer, consider freezing them in these containers. Just remember to thaw them at room temperature before enjoying that delightful, fudgy goodness! Additionally, incorporating healthy ingredients in your brownie recipe can enhance both flavor and nutrition.
How to Store Leftovers
After enjoying a batch of those delicious Oreo brownies, you might find yourself with some tempting leftovers.
To maintain brownie freshness, store them in an airtight container at room temperature for up to four days. If you want to keep them longer, consider refrigerating them; just make certain they're sealed properly to prevent drying out.
For even longer storage, freeze individual brownies wrapped in plastic wrap and placed in a freezer-safe bag. When you're ready to indulge again, simply thaw them at room temperature or warm them up slightly in the microwave.
Additionally, brownie recipes often benefit from proper storage techniques to enhance their taste and texture.
Enjoy each bite like it's fresh from the oven!
Nutrition Facts(per serving)
Each serving of these decadent Oreo brownies packs a delightful combination of flavors and textures that can satisfy your sweet tooth.
With an average calorie content of around 250 calories, these treats are rich yet indulgent. The ingredient breakdown reveals a luscious blend of chocolate, butter, and, of course, Oreos, which contribute to their delightful creaminess.
You'll also find sugars and fats enhancing the overall experience, while the occasional hint of flour adds a touch of structure. Additionally, the inclusion of pecans in brownies can elevate the texture and flavor profile even further.
Just remember, moderation is key when enjoying these sweet delights, as each bite is a heavenly burst of flavor that you won't want to resist!
Final Thoughts
While indulging in these Oreo brownies, you'll discover a delightful balance between rich chocolate and the iconic crunch of Oreos.
These delicious desserts are perfect for any occasion, whether you're hosting a gathering or simply satisfying a sweet tooth.
To elevate your baking game, remember a few key baking tips: use room temperature ingredients for a smoother batter, and don't overmix to keep your brownies fudgy. Brownie Cheesecake Bites offer a unique twist on the classic brownie experience.
Experiment with toppings or mix-ins to personalize your treat.
No matter how you make them, these Oreo brownies are sure to impress and become a favorite in your dessert rotation.
Enjoy every delicious bite!
Recipe FAQs
Can I Use Gluten-Free Oreos for This Recipe?
Imagine baking a treasure, where gluten-free alternatives shine like jewels. You can definitely use gluten-free Oreos for this recipe, enjoying delightful Oreo flavor variations while savoring every bite without worry about gluten. Dig in!
How Long Do These Brownies Take to Bake?
These brownies typically take about 25 to 30 minutes to bake at 350°F. Keep an eye on them; the edges should look set while the center remains slightly soft for that perfect gooey texture!
What Type of Chocolate Is Best for Brownies?
When it comes to chocolate for brownies, think of dark chocolate as the bold artist and milk chocolate as the sweet companion. For rich, decadent flavors, choose dark chocolate; for a softer taste, opt for milk chocolate.
Can I Add Nuts to the Brownie Mixture?
Yes, you can add nuts to the brownie mixture, like walnuts or pecans. They enhance texture and flavor beautifully. Just chop them coarsely and fold them in gently to keep your batter perfectly smooth.
Is It Possible to Freeze Oreo Brownies?
Yes, you can freeze brownies! For best results, wrap them tightly in plastic wrap and use a sturdy container. These freezing tips help maintain freshness, while proper storage methods guarantee deliciousness when you're ready to enjoy them.