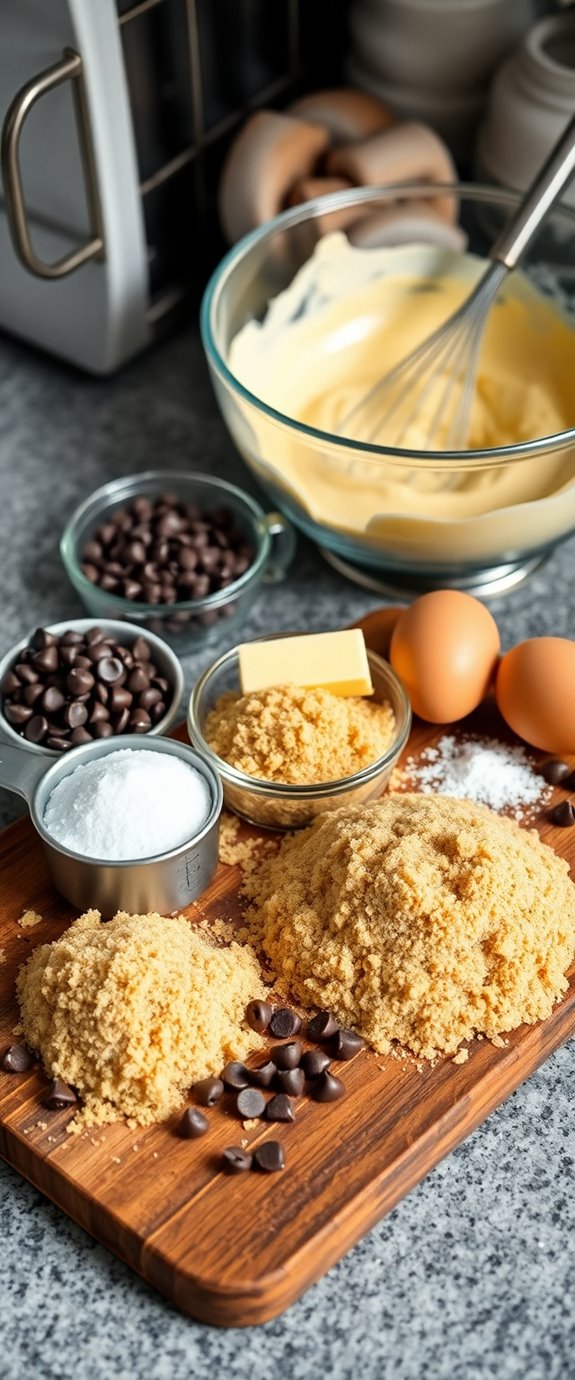
Have you ever wondered how to recreate that classic Oreo cookie experience at home? With a rich dark chocolate cookie and a luscious cream filling, this recipe offers a delightful balance of flavors. You'll find it surprisingly simple to make, and there's plenty of room for customization. Whether you want to stick with the traditional filling or explore new flavors, the journey to your perfect cookie starts here. What will you choose?
Recipe Tips and Tricks
- Combine 1 ½ cups flour and ½ cup cocoa powder with baking soda and salt for the cookie base.
- Cream 1 cup each of granulated and brown sugar with 1 cup softened butter until fluffy.
- Form tablespoon-sized dough balls and bake at 350°F for 10-12 minutes, cooling them on wire racks.
- For the filling, mix 1 ½ cups powdered sugar, 1 teaspoon vanilla extract, and 2 tablespoons milk until smooth.
- Store cookies in airtight containers or freeze individually wrapped for up to three months.
How To Make It – Recipe

To make delicious homemade Oreo cookies, you'll need to start by preparing the chocolate cookie base. The ideal Oreo cookie has a rich, dark flavor that balances perfectly with the sweet cream filling. This homemade version captures that essence, giving you a classic treat that can be enjoyed fresh from the oven. The process is simple and rewarding, allowing you to customize the filling as you desire. Additionally, using unsweetened cocoa powder**** enhances the rich chocolate flavor, making your cookies even more irresistible.
Once you've gathered your ingredients, preheating the oven is crucial to guarantee that your cookies bake evenly and develop the perfect texture. The combination of cocoa powder and flour creates the distinctive dark color of the Oreo, while the baking soda adds a touch of leavening, allowing the cookies to puff slightly during baking. With a little patience and the right technique, you can create a batch of cookies that rivals the store-bought version.
Ingredients:
- 1 ½ cups all-purpose flour
- ½ cup unsweetened cocoa powder
- 1 teaspoon baking soda
- ½ teaspoon salt
- 1 cup unsalted butter, softened
- 1 cup granulated sugar
- 1 cup brown sugar, packed
- 1 teaspoon vanilla extract
- 1 large egg
- 1 ½ cups powdered sugar (for filling)
- 1 teaspoon vanilla extract (for filling)
- 2 tablespoons milk (for filling)
To make the cookies, start by preheating your oven to 350°F (175°C) and lining two baking sheets with parchment paper. In a bowl, whisk together the flour, cocoa powder, baking soda, and salt; set aside.
In a separate large bowl, cream together the softened butter, granulated sugar, and brown sugar until light and fluffy. Beat in the egg and vanilla extract, then gradually add the dry ingredients, mixing until just combined.
Scoop tablespoon-sized balls of dough onto the prepared baking sheets, spacing them about 2 inches apart. Bake for 10-12 minutes or until the edges are firm. Let the cookies cool on the baking sheets for a few minutes before transferring them to wire racks to cool completely.
For the cream filling, beat together the powdered sugar, vanilla extract, and milk until smooth and spreadable. Once the cookies have cooled, spread a generous amount of the cream filling on the underside of one cookie and sandwich it with another cookie, pressing gently to adhere. Repeat this process until all cookies are filled.
When making homemade Oreo cookies, remember that chilling the dough for about 30 minutes before baking can help the cookies maintain their shape and enhance the flavor. You can also experiment with different filling flavors, such as mint or peanut butter, for a fun twist on the classic Oreo.
Enjoy your freshly baked cookies with a glass of milk for the ultimate treat!
Substitution Suggestions
Wondering how you can tweak the Oreo cookie recipe to suit your dietary needs or preferences?
If you're looking for vegan alternatives, substitute regular butter with coconut oil or vegan margarine, and use flaxseed meal mixed with water as an egg replacement.
For those needing gluten free options, swap all-purpose flour with a gluten-free blend, ensuring it has xanthan gum for the right texture.
You can also experiment with alternative sweeteners like coconut sugar or maple syrup to add your unique twist. Incorporating healthy ingredients can further enhance the nutritional value of your cookies.
These simple substitutions let you enjoy delicious Oreos without sacrificing your dietary choices!
Happy baking!
Decorating Ideas
Transforming your homemade Oreo cookies into eye-catching treats is a fun way to elevate your baking game.
Start with cookie decorating by using vibrant color combinations to match festive themes. Drizzle melted chocolate over the cookies for a rich, glossy finish. Add edible embellishments like sprinkles or crushed candies to create exciting textures.
For themed parties, consider seasonal designs, such as pumpkin or snowflake patterns. Experiment with creative toppings like whipped cream or flavored frosting. You can also incorporate delicious Christmas cookies that feature unique flavors and decorations to enhance the festive spirit.
With these ideas, your cookies won't only taste amazing but also become the highlight of any gathering, delighting friends and family alike.
Serving Suggestions
After you've decorated your homemade Oreo cookies, it's time to think about how to serve them for maximum impact.
Consider these serving ideas: stack them on a tiered platter for an eye-catching display or arrange them in a colorful box for a delightful gift.
Pairing suggestions can elevate your treat experience—serve them with a tall glass of cold milk, rich coffee, or even a scoop of vanilla ice cream. Adding a side of delicious homemade cookies can also create a delightful dessert table.
For a fun twist, try pairing them with fruit dips like chocolate or caramel.
These combinations won't only impress your guests but also enhance the overall flavor of your delicious cookies!
Make-Ahead and Storage
If you're planning a special occasion or just want to have a sweet treat on hand, making your Oreo cookies ahead of time is a fantastic option.
Here are some make-ahead tips: prepare the cookies and filling separately, then store them in airtight storage containers. This keeps them fresh and prevents the filling from getting soggy.
You can also freeze the cookies for up to three months; just guarantee they're tightly wrapped. Quick and easy cookies can be a lifesaver when unexpected guests arrive.
When you're ready to enjoy them, let the cookies thaw at room temperature.
With these simple steps, you'll always have delicious Oreo cookies ready to share or indulge in!
How to Store Leftovers
Once you've enjoyed your homemade Oreo cookies, you'll want to store any leftovers properly to maintain their deliciousness.
First, let them cool completely before storage. Place your leftover cookies in an airtight container to keep them fresh and prevent them from becoming stale.
If you're worried about them sticking together, you can layer them with parchment paper.
For longer storage, consider freezing them; just wrap each cookie individually in plastic wrap and place them in a freezer-safe bag. Additionally, gluten free cookies can often have a shorter shelf life, so be mindful of how long they sit out.
Using these storage tips will guarantee your leftover cookies stay soft and scrumptious, ready for your next sweet craving!
Nutrition Facts(per serving)
When you indulge in a homemade Oreo cookie, you're treating yourself to a delightful combination of flavors and textures, but it's important to know what you're consuming. Each serving packs about 100 calories, making it a sweet yet manageable treat.
You'll appreciate that these cookies offer a bit of dietary fiber, around 1 gram per serving, which helps keep your digestion on track. Additionally, these cookies can be made sugar-free to cater to those looking for healthier options.
While you savor that creamy filling and crunchy chocolate, remember that moderation is key. Balancing indulgence with awareness of caloric content guarantees you can enjoy these cookies without guilt.
Final Thoughts
As you savor the last bite of your homemade Oreo cookie, it's clear that this delightful treat isn't just about satisfying your sweet tooth; it's also an opportunity to bond with friends and family over a shared love for baking.
Each baking experience transforms into a cherished memory, whether you're experimenting with cookie variations like mint or peanut butter or sticking to the classic flavor. Baking cookies can be made even more enjoyable with easy cookie recipes, allowing everyone to join in the fun.
You'll discover that the joy of baking extends beyond the oven, creating moments that last a lifetime.
Recipe FAQs
Can I Use Gluten-Free Flour for This Oreo Cookie Recipe?
Absolutely, you can use gluten-free flour for your recipe! Just be aware that gluten-free substitutes might alter the cookie texture. Experiment a bit to achieve that perfect balance of crunch and chewiness you desire.
How Long Does It Take to Bake These Cookies?
When it comes to preparing cookies, you've gotta know that timing's crucial! Bake them for about 10-12 minutes, then allow for a chilling period of 5 minutes to achieve that perfect consistency. Enjoy!
Can I Freeze the Cookie Dough Before Baking?
Yes, you can freeze the cookie dough before baking! Freezing benefits include extended dough storage, preserving freshness and flavor. Just wrap it tightly and thaw when you're ready to enjoy delicious homemade cookies.
What Type of Cocoa Powder Works Best for Oreos?
Have you ever wondered why cocoa powder choice matters? For the best flavor, go with Dutch process cocoa for richness or natural cocoa for a lighter touch. Each has its unique depth, enhancing your baking experience.
Are There Any Vegan Alternatives for the Ingredients?
You can use plant-based substitutions like almond milk instead of dairy, and coconut oil in place of butter. These dairy-free options keep your treats deliciously sweet while satisfying your vegan cravings. Enjoy your baking!