Imagine inviting friends over for a cozy movie night, and you surprise them with a batch of warm, homemade Oreo brownies. The rich chocolate aroma fills the room, and the first bite reveals a perfect blend of gooey brownie and crunchy Oreo goodness. You might find yourself wondering how to achieve that ideal balance of flavors and textures. Let's explore the simple steps to create this irresistible dessert that's sure to impress.
Recipe Tips and Tricks
- Combine melted butter and sugar, then mix in eggs and vanilla for a rich brownie base.
- Incorporate flour, cocoa powder, and chopped Oreo cookies for added flavor and texture.
- Bake in a greased 9×13 inch pan at 350°F (175°C) for a gooey treat.
- Allow brownies to cool before cutting for the best fudgy consistency.
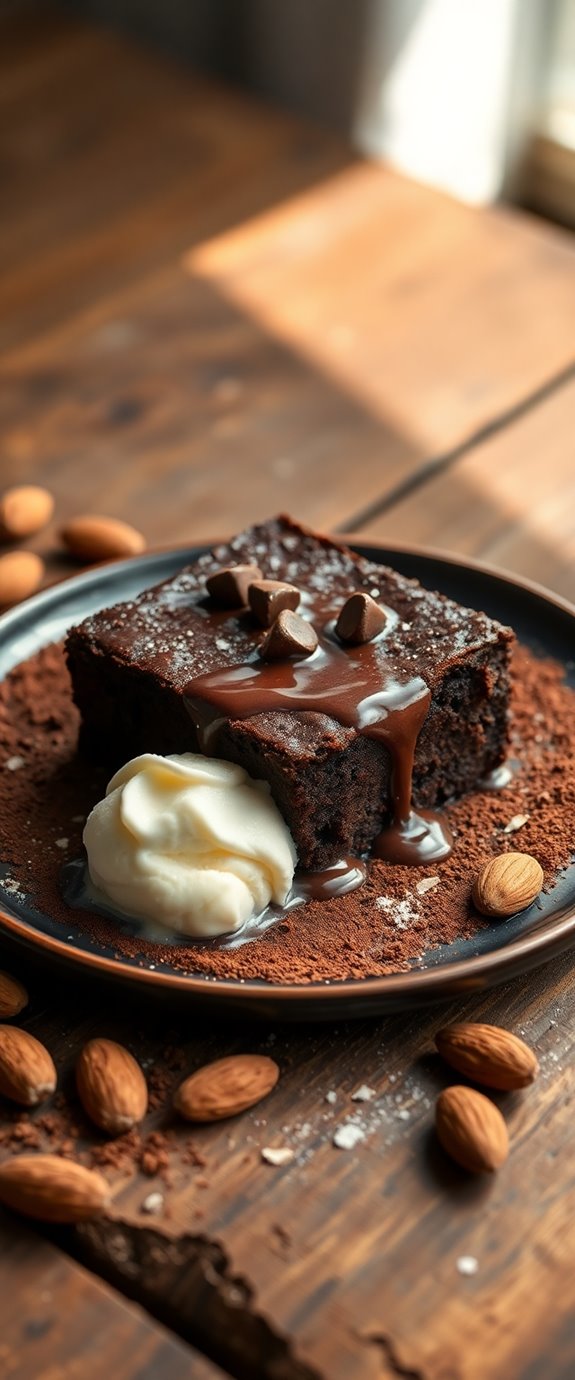
- Serve warm with a dusting of powdered sugar or a scoop of ice cream for an indulgent dessert.
How To Make It – Recipe

Homemade Oreo brownies are a delightful fusion of two beloved treats: rich, fudgy brownies and the iconic Oreo cookie. This recipe is perfect for chocolate lovers, as it combines the intense flavor of brownies with the crunchy, creamy goodness of Oreos.
Whether you're preparing for a special occasion or simply craving something sweet, these brownies are sure to impress family and friends alike. Making these Oreo brownies is surprisingly simple and requires minimal ingredients. You'll be amazed at how quickly you can whip up this indulgent dessert. With just a few steps, you'll have a pan full of deliciously gooey brownies that are sure to satisfy your sweet tooth. So, let's get started on this mouthwatering treat!
Ingredients:
- 1 cup unsalted butter
- 2 cups granulated sugar
- 4 large eggs
- 1 teaspoon vanilla extract
- 1 cup all-purpose flour
- 1 cup unsweetened cocoa powder
- 1/2 teaspoon salt
- 1/2 teaspoon baking powder
- 15 Oreo cookies, coarsely chopped
- Additional Oreo cookies for topping (optional)
To make the brownies, preheat your oven to 350°F (175°C) and grease a 9×13 inch baking pan. In a large bowl, melt the butter and then stir in the sugar until well combined.
Add in the eggs, one at a time, mixing well after each addition, followed by the vanilla extract. In a separate bowl, whisk together the flour, cocoa powder, salt, and baking powder.
Gradually add the dry ingredients to the wet mixture, stirring until just combined. Fold in the chopped Oreos, then pour the batter into the prepared baking pan, smoothing the top with a spatula.
If desired, place additional whole Oreos on top of the batter. Bake for 25-30 minutes or until a toothpick inserted in the center comes out with a few moist crumbs. Allow the brownies to cool before cutting into squares.
For the best results, make sure not to overbake the brownies, as you want them to remain fudgy and moist. Additionally, you can enhance the flavor by adding a pinch of espresso powder to the batter, which will amplify the chocolate taste.
Feel free to experiment with different types of Oreos, such as the double-stuffed version or the seasonal flavors, to create your own unique twist on this classic recipe. Decadent Oreo brownies are perfect for satisfying your cravings, so enjoy your homemade Oreo brownies!
Substitution Suggestions
Once you've mastered the basic Oreo brownie recipe, you might want to switch things up a bit.
If you're looking for vegan options, substitute the eggs with flaxseed meal mixed with water or applesauce. For a rich flavor, try using coconut oil instead of butter.
Craving gluten-free alternatives? Simply swap regular flour for almond or oat flour, and make sure your Oreos are gluten-free.
You'll still enjoy that deliciously fudgy texture without sacrificing taste. These substitutions not only cater to dietary needs but also add a unique twist to your homemade treats, making them even more enjoyable! Additionally, using coconut oil can enhance the overall flavor profile of your brownies.
Decorating Ideas
How can you make your Oreo brownies even more irresistible? Start by drizzling melted chocolate or white chocolate over the top, creating a beautiful contrast.
Sprinkle on some crushed Oreos for that extra crunch. For themed presentations, try adding seasonal decorations—like colorful sprinkles for birthdays or edible glitter for festive occasions.
Consider topping with mini marshmallows or fresh berries for a pop of color. You could even use a stencil to dust powdered sugar in fun shapes. Adding decadent toppings can take your brownies to the next level of indulgence.
These decorative toppings not only enhance the visual appeal but also elevate the flavor, making your brownies the star of any dessert table!
Serving Suggestions
To truly delight your guests, serve your Oreo brownies warm from the oven, allowing the rich chocolate to melt in their mouths.
Cut them into generous serving sizes, so everyone can enjoy these decadent treats. For an extra touch, dust with powdered sugar or drizzle with chocolate sauce.
Pairing drinks is essential; consider a cold glass of milk, a rich coffee, or even a scoop of vanilla ice cream for a delightful contrast. Additionally, these brownies are best enjoyed with Oreo cookies as a delicious garnish.
These combinations will elevate your dessert experience, making it memorable for everyone at the table. Enjoy every bite and the smiles they bring!
Make-Ahead and Storage
You can easily make your Oreo brownies ahead of time, ensuring a stress-free dessert experience for any occasion.
For the best results, bake your brownies a day or two in advance. Once cooled, cut them into squares and place them in airtight storage containers. This keeps them fresh and flavorful.
If you want to elevate your make-ahead game, consider freezing the brownies. Just wrap them tightly in plastic wrap before placing them in a freezer-safe container.
When you're ready to indulge, let them thaw at room temperature, and enjoy the rich, chocolatey goodness whenever you crave it! Additionally, these brownies maintain their decadent texture even after freezing, making them a perfect treat for any time.
How to Store Leftovers
After enjoying your delicious homemade Oreo brownies, it's important to know how to store any leftovers for maximum freshness.
For ideal brownie preservation, place them in an airtight container at room temperature. If you want to keep them longer, wrap each brownie in plastic wrap, then store them in the fridge. This leftover storage method helps maintain their fudgy texture and flavors. You can even freeze them for up to three months—just thaw them in the fridge when you're ready to indulge again. Additionally, using an airtight container ensures that the brownies retain their moistness and do not absorb any odors from the fridge. Storing your brownies properly guarantees every bite remains as delightful as the first!
Nutrition Facts(per serving)
Indulging in a rich brownie topped with Oreo crumbles is a delightful experience, but it's also essential to be mindful of the nutrition behind each serving.
Each brownie packs about 250 calories, a treat that satisfies your sweet tooth without derailing your diet. The chocolate provides antioxidants, while the creamy filling of Oreos adds a comforting touch.
Plus, the eggs and butter offer protein and healthy fats, giving you a little energy boost. Enjoying these brownies in moderation lets you savor the flavor while appreciating the ingredient benefits, making your dessert a deliciously informed choice. Additionally, these brownies can also be made eggless, providing a suitable option for egg-free diets.
Final Thoughts
As you savor each bite of these homemade Oreo brownies, it becomes clear that this treat isn't just about satisfying a craving; it's about creating moments of joy.
The rich chocolate mingles perfectly with the creamy Oreo filling, making each mouthful an experience to remember.
Don't forget those baking tips—like letting the brownies cool before cutting—so you achieve that perfect texture.
Experimenting with flavor combinations, like adding mint or peanut butter, can elevate your brownies even further. Additionally, using an Air Fryer can significantly reduce cooking time while delivering a deliciously moist brownie.
Recipe FAQs
Can I Use Gluten-Free Oreos for This Recipe?
Absolutely, you can use gluten-free Oreos for this recipe! Substituting ingredients is a great way to accommodate dietary needs. Just remember, gluten-free baking might slightly alter texture, but you'll still enjoy delicious results!
How Long Do These Brownies Take to Bake?
Picture the rich aroma filling your kitchen as you slide your brownies into the oven. At 350°F, they'll need about 25 to 30 minutes of baking time to achieve that perfect, fudgy texture you crave.
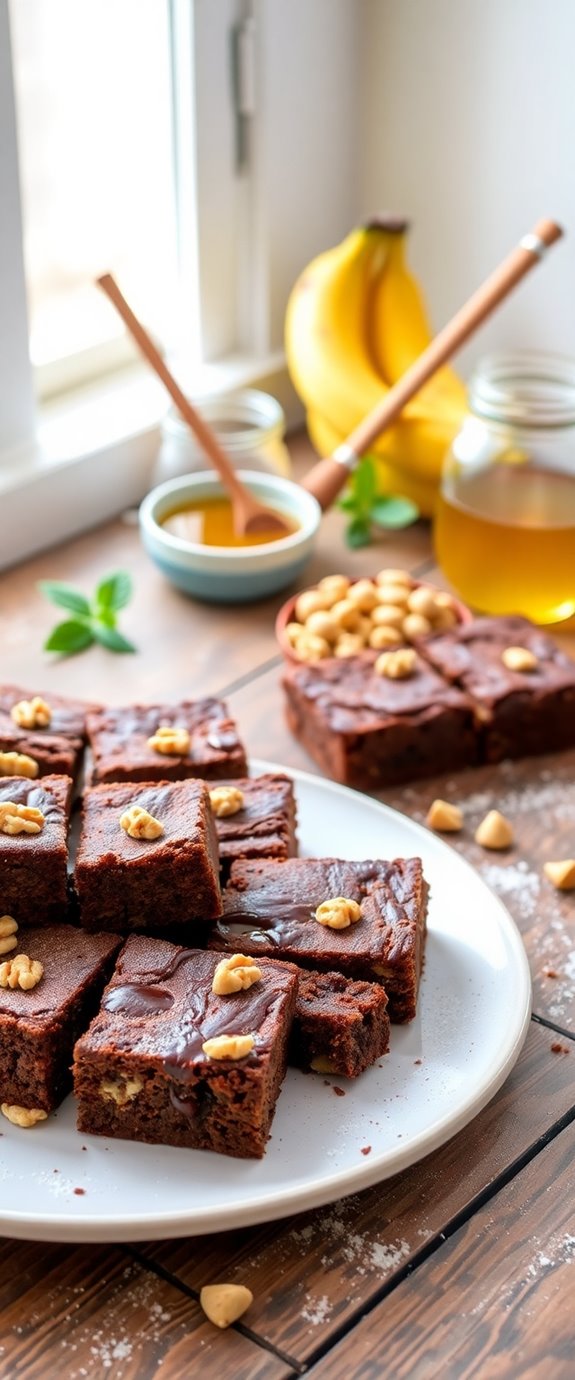
Can I Add Nuts to the Brownie Mix?
Absolutely, you can add nut varieties like walnuts or pecans! They'll enhance your brownie texture, creating a delightful crunch that contrasts beautifully with the rich, fudgy base. Go ahead and experiment for a delicious twist!
What Is the Best Way to Cut Brownies?
Imagine slicing through velvet clouds; that's how cutting brownies should feel. For the best results, use a sharp, serrated knife. A few tips for cutting: let them cool, and wipe the knife between cuts for cleaner edges.
Can I Freeze These Brownies for Later?
Yes, you can freeze those brownies for later! For freezing tips, wrap them tightly in plastic wrap and use an airtight container. This way, you'll have delicious treats ready whenever you need a sweet storage option!