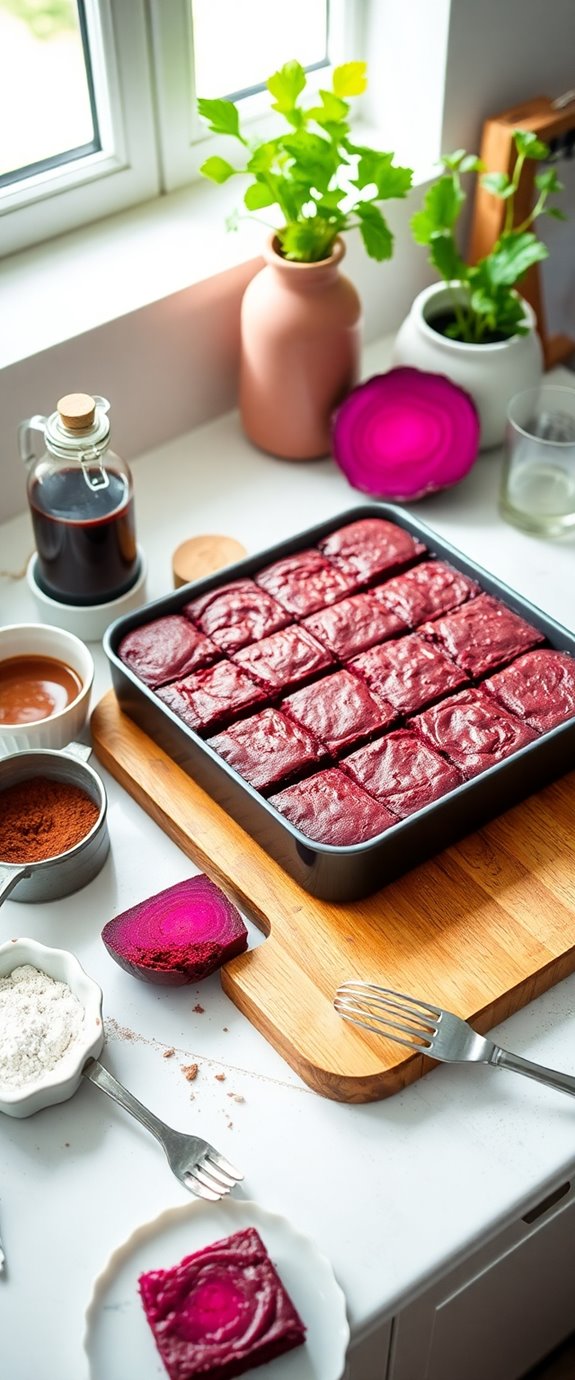
Homemade red velvet brownies blend the decadence of chocolate with the whimsical charm of vibrant red. This unique treat offers a rich, moist base that contrasts beautifully with its creamy cream cheese frosting. If you've ever craved a dessert that stands out at gatherings and leaves a lasting impression, these brownies might just be your answer. Let's explore how to create this delightful confection, along with tips for substitutions and serving ideas.
Recipe Tips and Tricks
- Preheat your oven to 350°F (175°C) and prepare a greased 9×13-inch baking pan for the brownies.
- Combine melted butter, sugar, eggs, vanilla extract, and red food coloring in a mixing bowl until well mixed.
- In a separate bowl, whisk together flour, cocoa powder, baking powder, and salt, then gradually mix into the wet ingredients.
- Bake the mixture for 25-30 minutes, then allow it to cool completely before applying the cream cheese frosting.
- For a rich frosting, beat softened cream cheese and butter, then mix in powdered sugar and vanilla until creamy.
How To Make It – Recipe
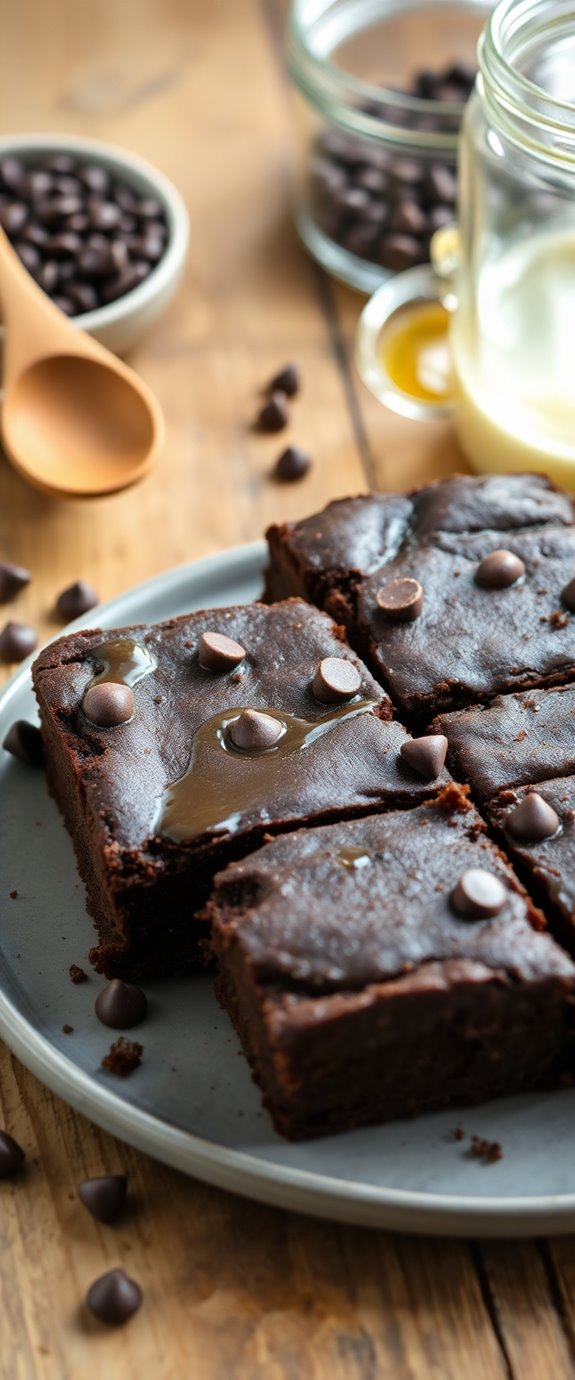
To make delicious homemade red velvet brownies, you'll need to combine the classic flavors of red velvet cake with the rich, fudgy texture of brownies. This decadent dessert is perfect for celebrations or simply as a sweet treat to enjoy at home. With a vibrant color and a hint of cocoa, these brownies are sure to impress anyone who takes a bite. Plus, they're relatively easy to prepare, making them a great option for both novice and experienced bakers.
Begin by gathering all your ingredients and preheating your oven. The combination of buttermilk and cocoa powder gives these brownies their signature flavor, while the cream cheese frosting adds an extra layer of indulgence. Once you have everything ready, you can quickly whip up the batter and have your brownies baking in no time. When they come out of the oven, the delightful aroma will fill your kitchen, making it hard to resist diving in right away. Additionally, these brownies can be enjoyed warm or chilled, providing various serving options for every palate.
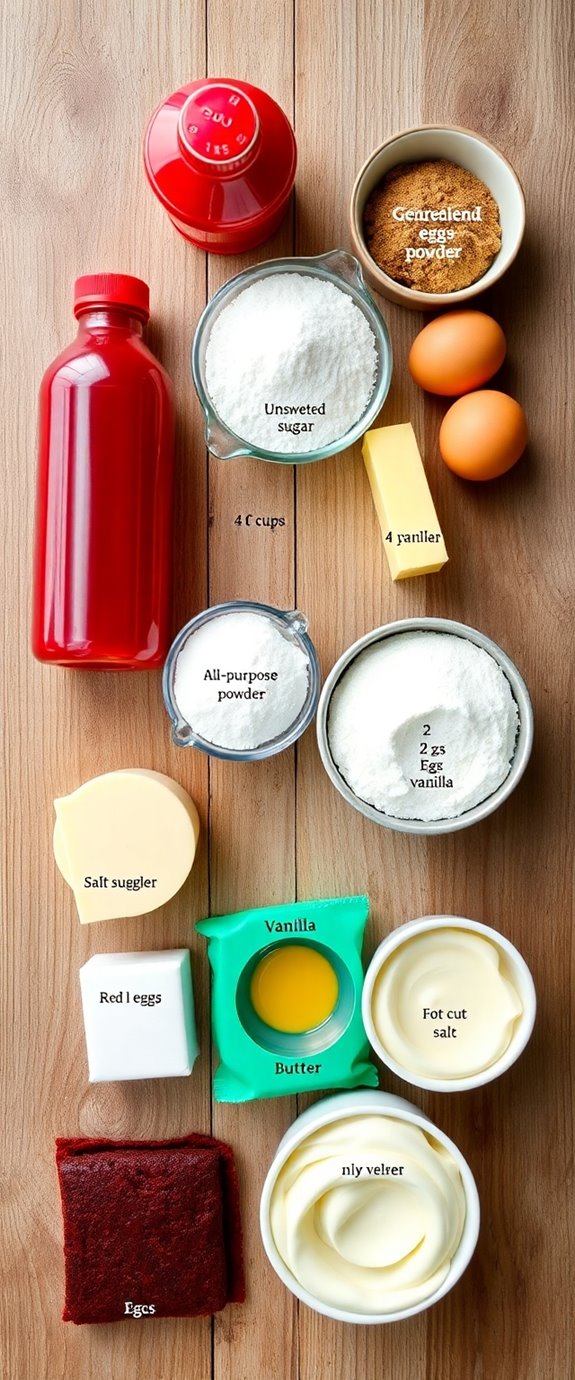
Ingredients:
- 1 cup unsalted butter
- 2 cups granulated sugar
- 4 large eggs
- 2 teaspoons vanilla extract
- 2 tablespoons red food coloring
- 2 cups all-purpose flour
- 1/2 cup unsweetened cocoa powder
- 1 teaspoon baking powder
- 1/2 teaspoon salt
For the cream cheese frosting:
- 8 oz cream cheese, softened
- 1/2 cup unsalted butter, softened
- 2 cups powdered sugar
- 1 teaspoon vanilla extract
To cook the brownies, start by preheating your oven to 350°F (175°C) and greasing a 9×13-inch baking pan. In a large mixing bowl, melt the butter and stir in the sugar until well combined. Add the eggs, one at a time, mixing well after each addition, then stir in the vanilla and red food coloring.
In a separate bowl, whisk together the flour, cocoa powder, baking powder, and salt. Gradually add the dry ingredients to the wet mixture, stirring until just combined. Pour the batter into the prepared pan and bake for 25-30 minutes or until a toothpick inserted into the center comes out clean. Allow the brownies to cool completely before frosting.
For the cream cheese frosting, beat the softened cream cheese and butter together until smooth. Gradually add the powdered sugar and vanilla, mixing until creamy and well combined. Once the brownies are cool, spread the frosting generously over the top.
A few extra tips to keep in mind: make sure to use room temperature ingredients for a smoother batter. If you want a deeper red color, feel free to add a bit more food coloring, but be careful not to overdo it. Always check for doneness a few minutes before the suggested baking time, as ovens can vary.
Finally, these brownies are even better the next day as the flavors have time to meld together, making them a perfect make-ahead dessert!
Substitution Suggestions
While you're enjoying the delightful process of baking your red velvet brownies, you might find yourself in need of some substitutions for certain ingredients.
If you require gluten-free options, swap regular flour for almond or coconut flour, ensuring you adjust the liquid content accordingly.
For a vegan twist, replace eggs with flaxseed meal or applesauce, and use a dairy-free butter alternative. You can also choose vegan chocolate chips to maintain that rich flavor.
Additionally, using almond flour can enhance the texture and flavor of your brownies while keeping them moist and delicious.
With these easy substitutions, you can enjoy delicious red velvet brownies that suit your dietary needs without compromising on taste or texture.
Happy baking!
Decorating Ideas
As you immerse yourself in the fun of decorating your homemade red velvet brownies, let your creativity shine through with a variety of toppings and finishes.
Start with decadent frosting options like cream cheese or whipped vanilla to create a rich layer. For a pop of color and flavor, consider adding festive toppings such as crushed pecans, sprinkles, or edible glitter.
You can even drizzle melted white chocolate for an elegant touch. Don't forget to personalize each brownie with unique designs or patterns. The addition of red velvet brownies can enhance the overall visual appeal of your dessert.
With these ideas, your brownies won't only taste amazing but also look stunning on any dessert table!
Serving Suggestions
When it comes to serving your homemade red velvet brownies, presentation can elevate the experience. Serve them warm, around room temperature, to enhance their fudgy texture.
Plating the brownies on a decorative dish adds a touch of elegance. Consider dusting them with powdered sugar or drizzling with cream cheese icing for visual appeal.
For delightful pairing beverages, try a rich cup of coffee or a glass of cold milk to complement the brownie's flavors. If you're feeling adventurous, a fruity red wine can create a unique contrast. Additionally, serving these brownies with Red Velvet Oreo ice cream can bring a delightful twist to your dessert experience.
Enjoy your decadent treats with friends for a memorable occasion!
Make-Ahead and Storage
To keep your homemade red velvet brownies fresh and delicious, planning ahead is key. Use these make-ahead tips to streamline your baking process.
You can prepare the brownie batter a day in advance, storing it tightly covered in the fridge. When you're ready to bake, simply pour it into your pan and pop it in the oven.
For storage, choose airtight storage containers to keep your brownies moist and flavorful. If you want to freeze them, wrap individual brownies in plastic wrap before placing them in a freezer-safe container. Additionally, low carb options are perfect for those who want to enjoy a healthier treat without sacrificing taste.
This way, you'll always have a sweet treat ready to enjoy!
How to Store Leftovers
Storing leftovers properly can make all the difference in keeping your red velvet brownies fresh and tasty for days to come.
For ideal leftover storage, let your brownies cool completely before wrapping them tightly in plastic wrap or placing them in an airtight container. This guarantees maximum brownie preservation. You can also layer parchment paper between brownies to prevent sticking. If you plan to keep them longer, consider freezing individual portions. Just remember to thaw them in the fridge for a few hours before enjoying! Delicious Red Velvet Brownies are perfect for festive occasions, and with these simple steps, your delicious brownies will stay irresistible for days ahead.
Nutrition Facts(per serving)
Each decadent serving of these homemade red velvet brownies offers a delightful balance of flavors and textures, making them a tempting treat to indulge in.
With a caloric content of about 250 calories per brownie, you're treating yourself while savoring every bite. The ingredient breakdown reveals a mix of rich cocoa, creamy butter, and sugar, which contribute to their lusciousness.
You'll also find a hint of buttermilk and eggs, adding moisture and richness. While they're certainly indulgent, these brownies can be enjoyed in moderation, satisfying your cravings without completely derailing your dietary goals. The addition of moist red velvet creates a unique twist that sets these brownies apart from traditional recipes.
Enjoy each luscious bite!
Final Thoughts
As you savor these homemade red velvet brownies, it's clear that they're more than just a dessert; they're an experience that brings joy to any occasion. Perfect as celebration desserts, these brownies blend rich chocolate flavor with a stunning red hue, making every bite unforgettable. To elevate your baking, remember these baking tips: always sift your flour for a lighter texture and don't overmix the batter to maintain that fudgy consistency. Incorporating healthy ingredients can enhance both the taste and nutrition of your brownies. Whether you're hosting a party or simply treating yourself, these brownies are bound to impress. Enjoy the smiles they bring and the memories created around your baking adventures!
Recipe FAQs
What Is the Origin of Red Velvet Brownies?
You're diving into the history exploration of red velvet brownies, uncovering recipe variations influenced by Southern traditions. Their vibrant color and unique flavor emerged from a mix of cocoa, buttermilk, and a touch of creativity.
Can I Use Cocoa Powder Instead of Red Velvet Cake Mix?
You can absolutely use cocoa powder as a substitute! Just remember, it won't deliver the same red velvet flavoring. To mimic that taste, consider adding a splash of vanilla or some red food coloring for vibrancy.
Are There Gluten-Free Options for This Recipe?
Absolutely, you can create gluten-free options by using gluten-free flour blends. For added flavor, try alternative sweeteners like coconut sugar or agave syrup, ensuring your treats remain delightful and suitable for those with dietary restrictions.
How Do I Know When My Brownies Are Fully Baked?
You might think overbaking's the secret to perfection, but that's not true! Check your brownies around the baking time by inserting a toothpick; it should come out with a few moist crumbs for ideal fudginess.
Can I Add Nuts or Chocolate Chips to the Batter?
Absolutely, you can add nut varieties like walnuts or pecans, or even chocolate chips to your batter! These additions not only provide delightful crunch but also enhance the flavor, making your brownies even more irresistible.